This technique is very old and has been used for many centuries. One of the oldest American quilts is the Saltonstall quilt, made around 1704. It still has the paper inside the pieces. The papers used were from Harvard University Catalog of 1701. (The Quilters Ultimate Visual Guide-Ellen Pahl).
This technique is more time consuming but at the same time, projects made with this technique are projects on the go. You can of course use your machine to do them, but we will deal with this another time.
It is patchwork we make using paper pieces that help us to give to the fabric a specific shape.
The shape of those pieces must give the opportunity to sew those pieces together without leaving any gap.
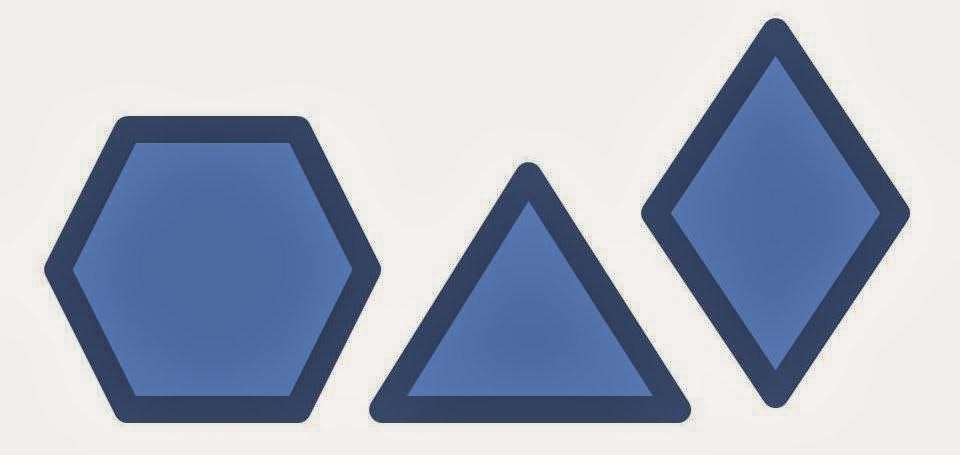
The result of this technique is very precise, because the paper helps the fabric maintain its shape. You may also combine multiple shapes together, provided that they have sides of the same size.
We can use those pieces either to make a whole quilt or to make a few groups that can be appliquéd on other fabrics.
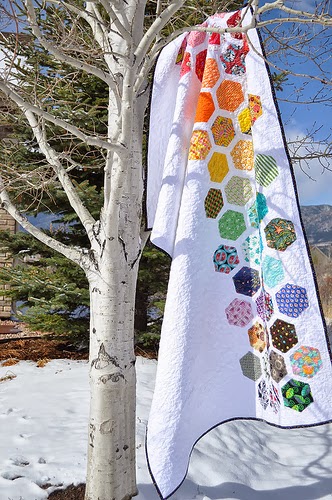
Take a look at this quilt from blog “we shall sew”. Hexagons have been appliquéd to a modern quilt.
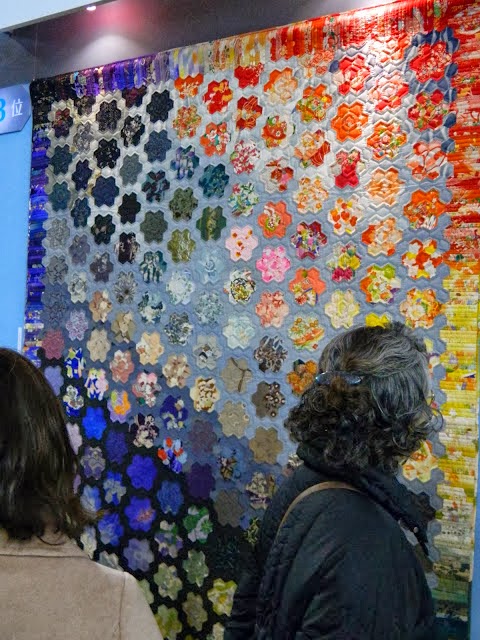
Have also a look at this picture of the site “Sewhomegrown” (quilt from International Quilting Festival of Tokyo). Hexagons have been placed so that they form rosettes with blank hexagons between them.
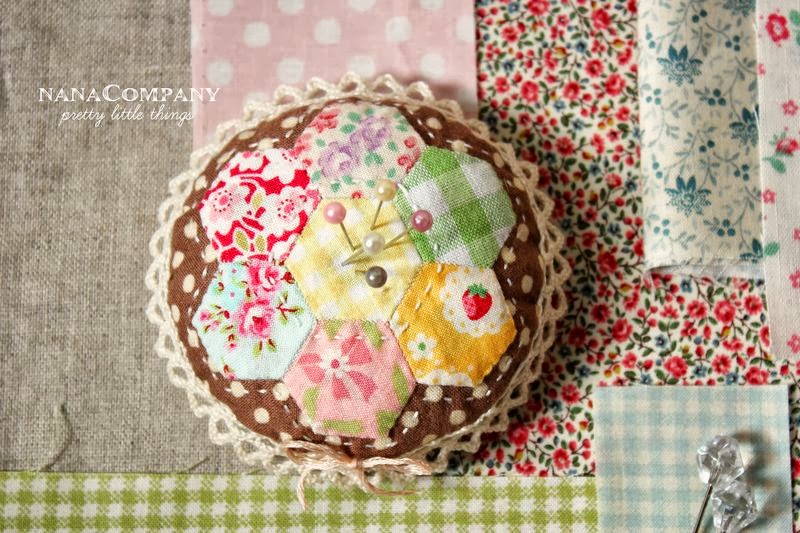
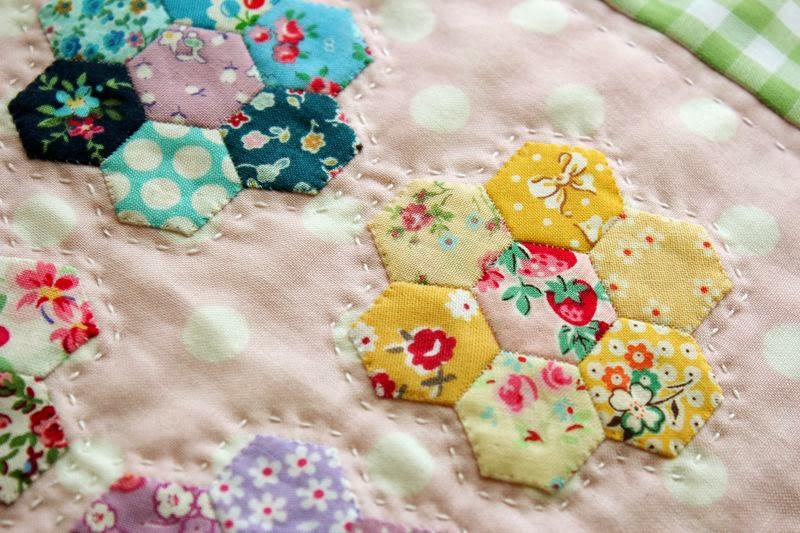
On both of those pictures, heaxongs form rosettes that have been appliquéd either on a pin cushion or on a quilt. Pay attention to the hand quilting (photos from blog “nanacompany”). This technique longs for hand quilting.
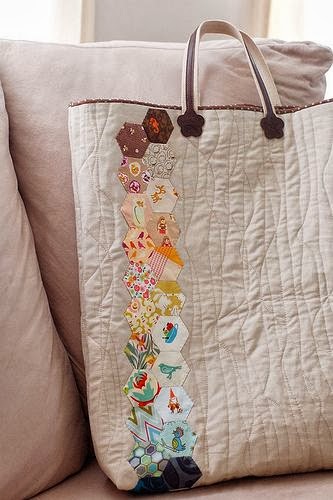
On this photo hexagons have been sewn on two stripes and appliqued on a bag of Amanda Jenings. The result is very classy.
Let us now have a look on the process. We will work with hexagons and whatever we are going to say, applies to other shapes as well.
First the traditional way
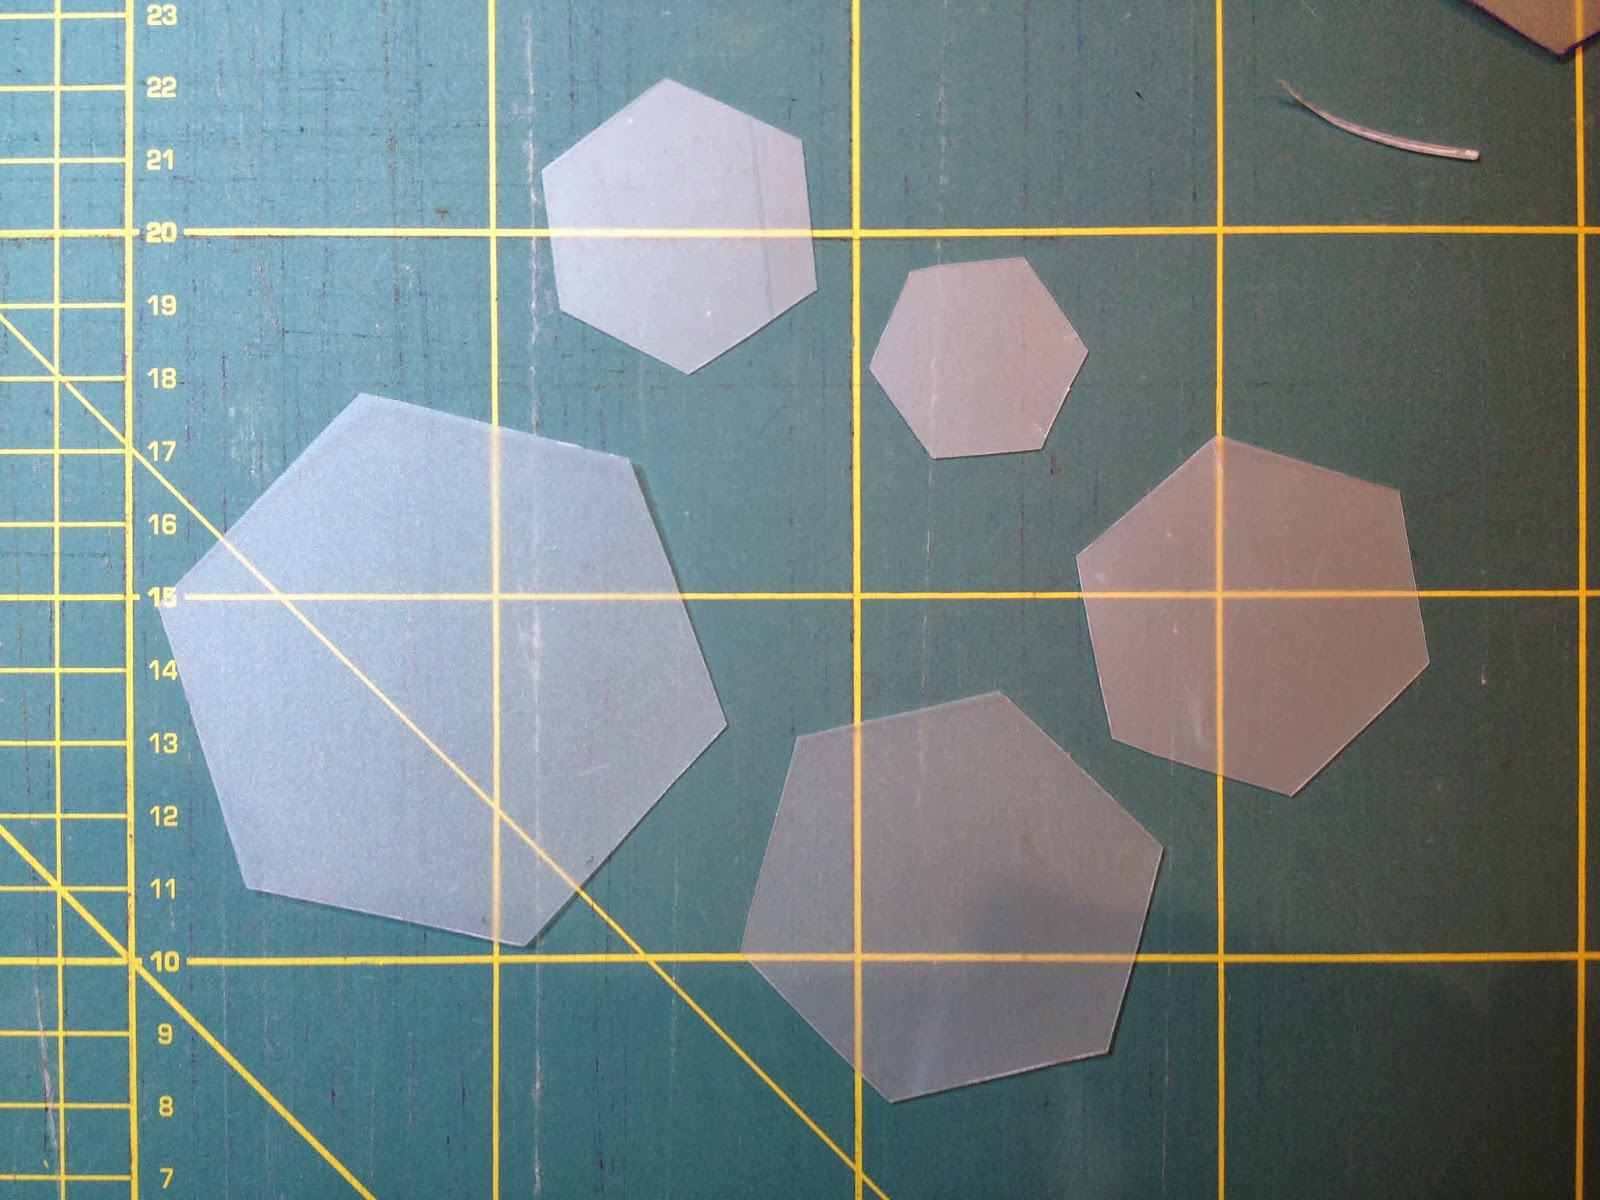
We draw a hexagon of the final desired size on a cardboard or a piece of plastic that we can cut. We may draw and cut any size we like. The size is defined by the length of each side. Meaning that if a pattern calls for hexagons of 2” or 1,5 cm, this is the length of each side.
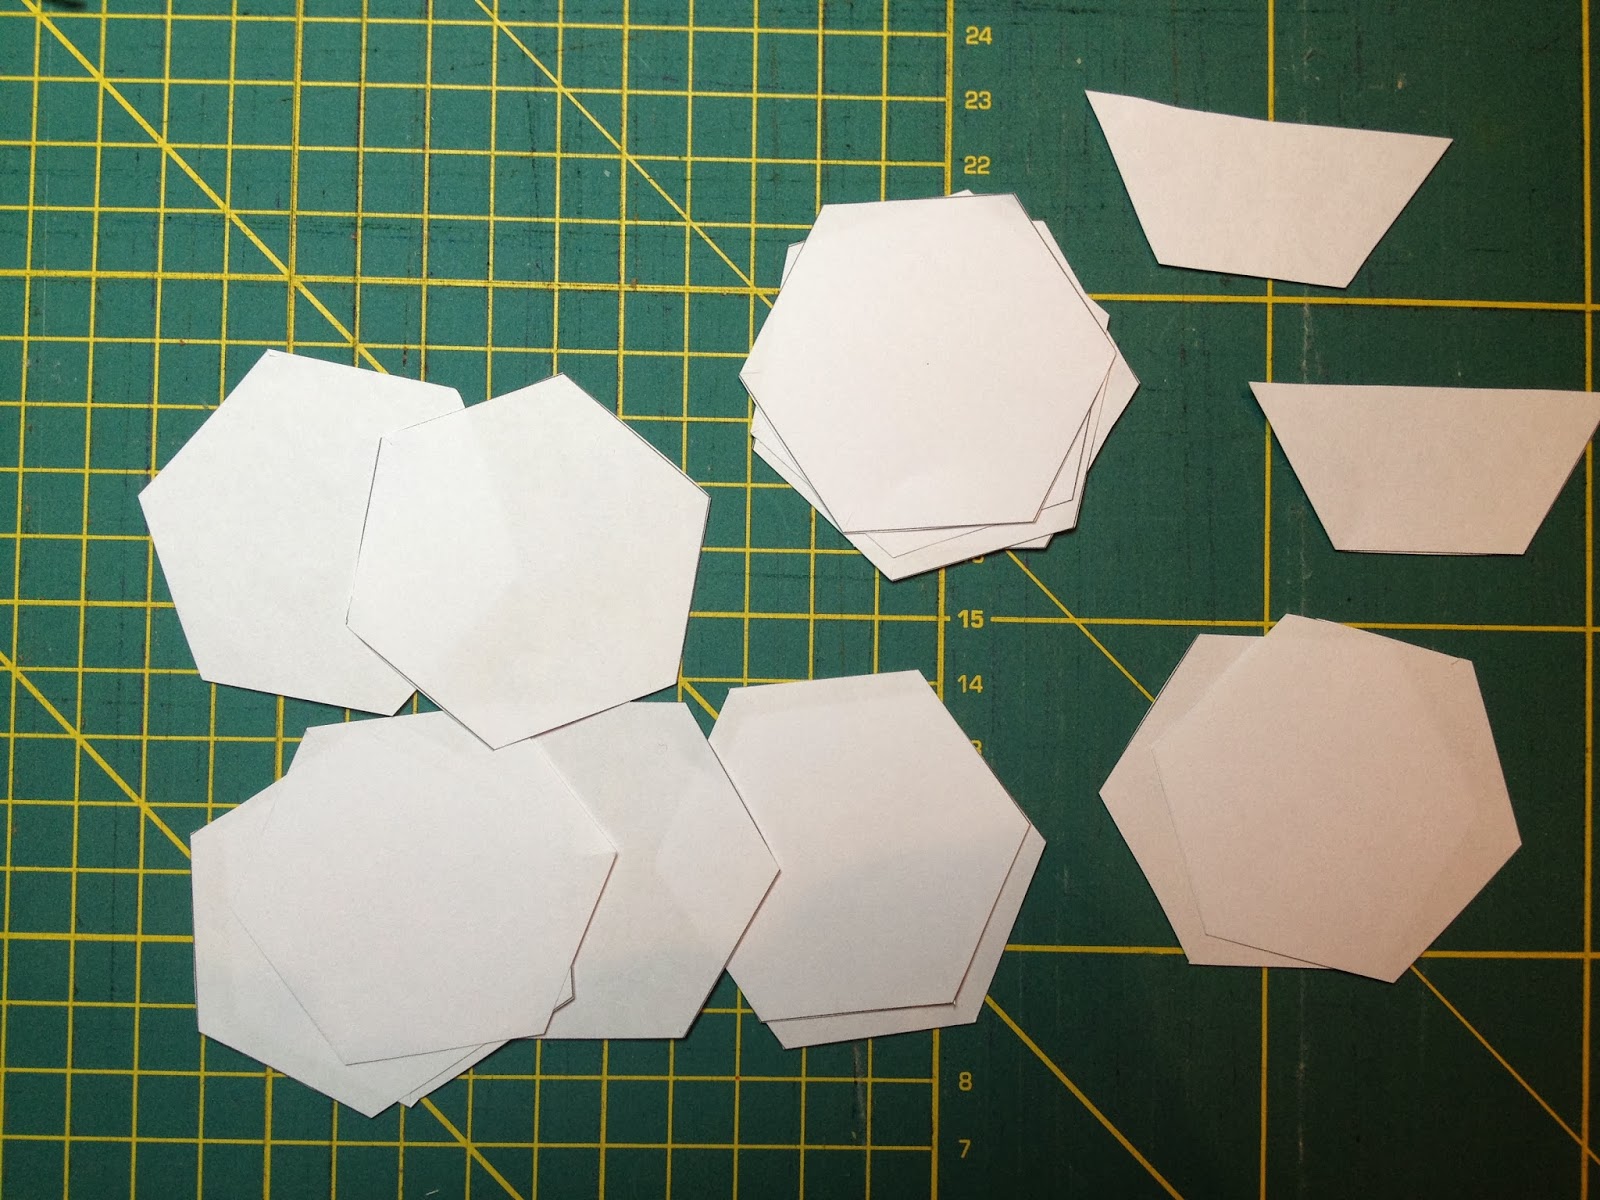
We then use our plastic pattern in order to draw on a piece of paper the hexagon as many times as the number of hexagons we need. We cut them:
And now the easy, modern way:
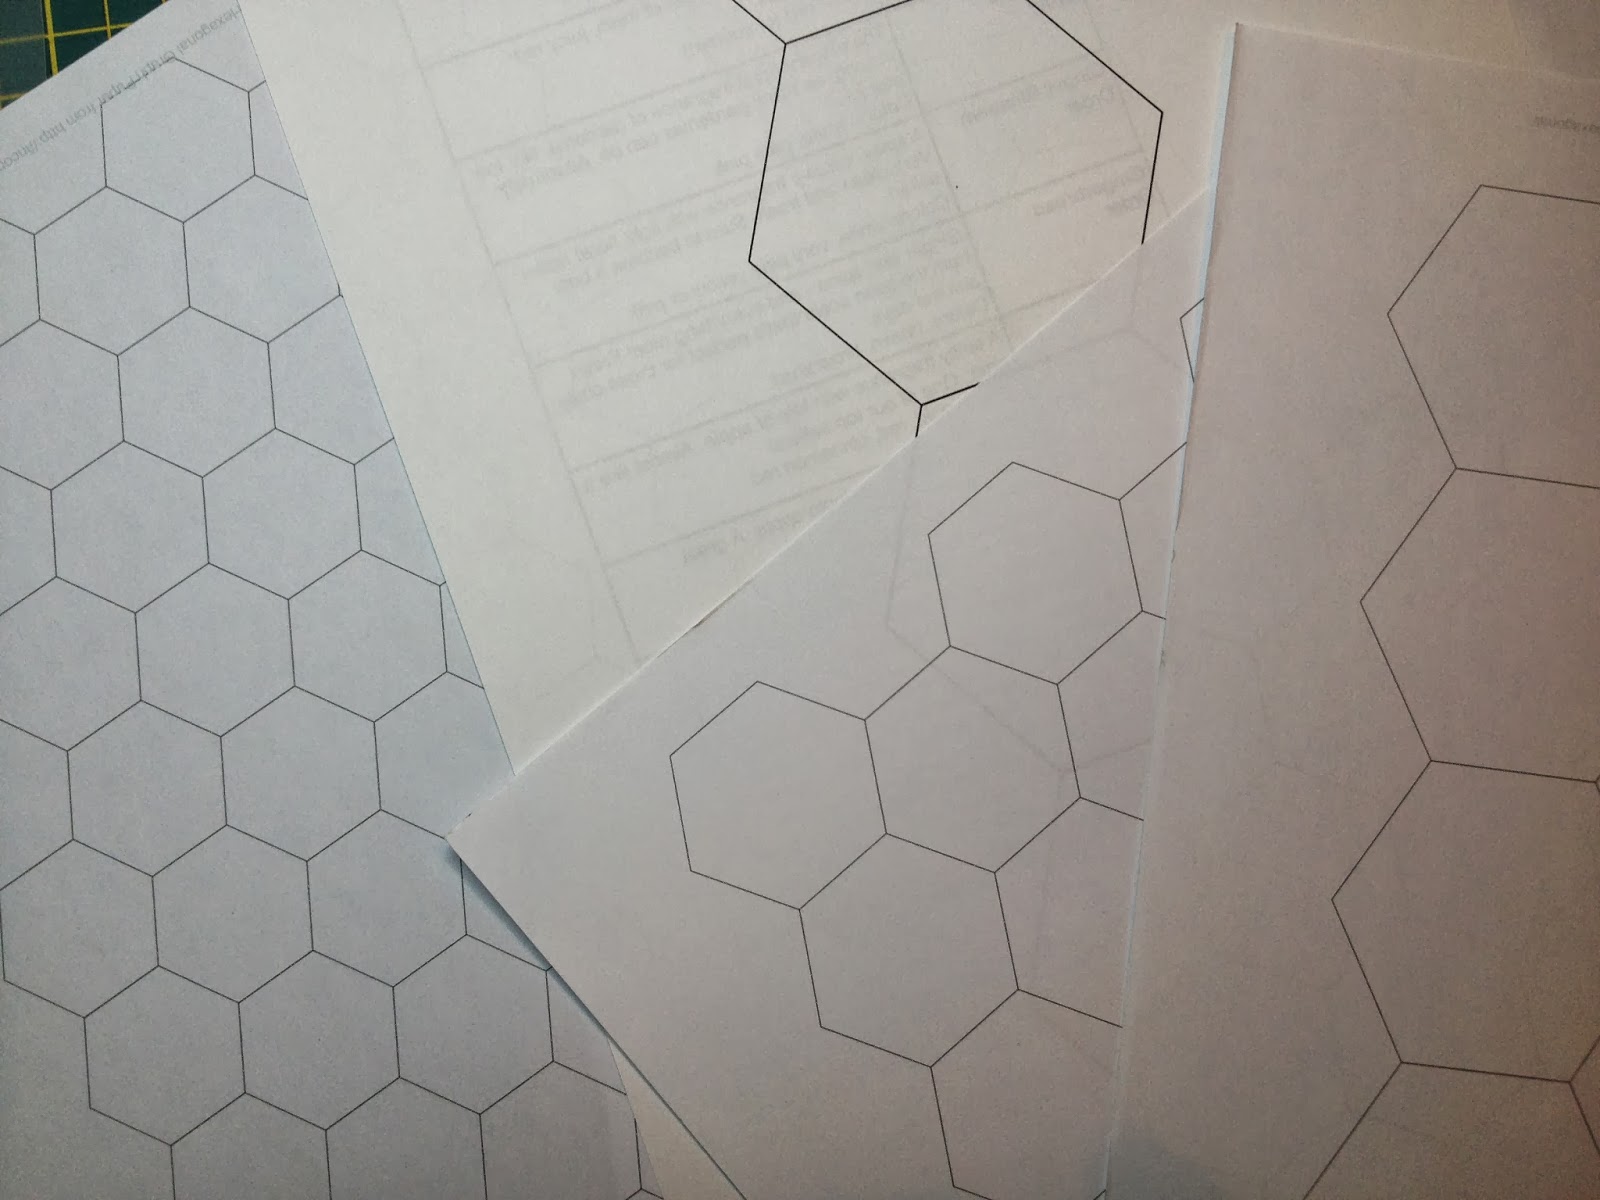
On this site http://incompetech.com/graphpaper/hexagonal/ you can download and print whatever size of hexagon you wish. I suppose there are other sites for the other shapes. We print as many pages we need and we cut.
Should you wish to cut from a big piece of paper, then you can do the following:
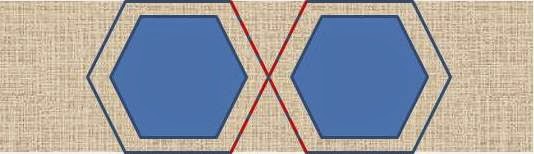
You cut stripes of the fabric. The width of the stripes is the height of the hexagons plus the seam allowance. You pin the jexagons (blue shapes on the drawing) and you cut with your rotary cutter on the red dotted lines. Faster!
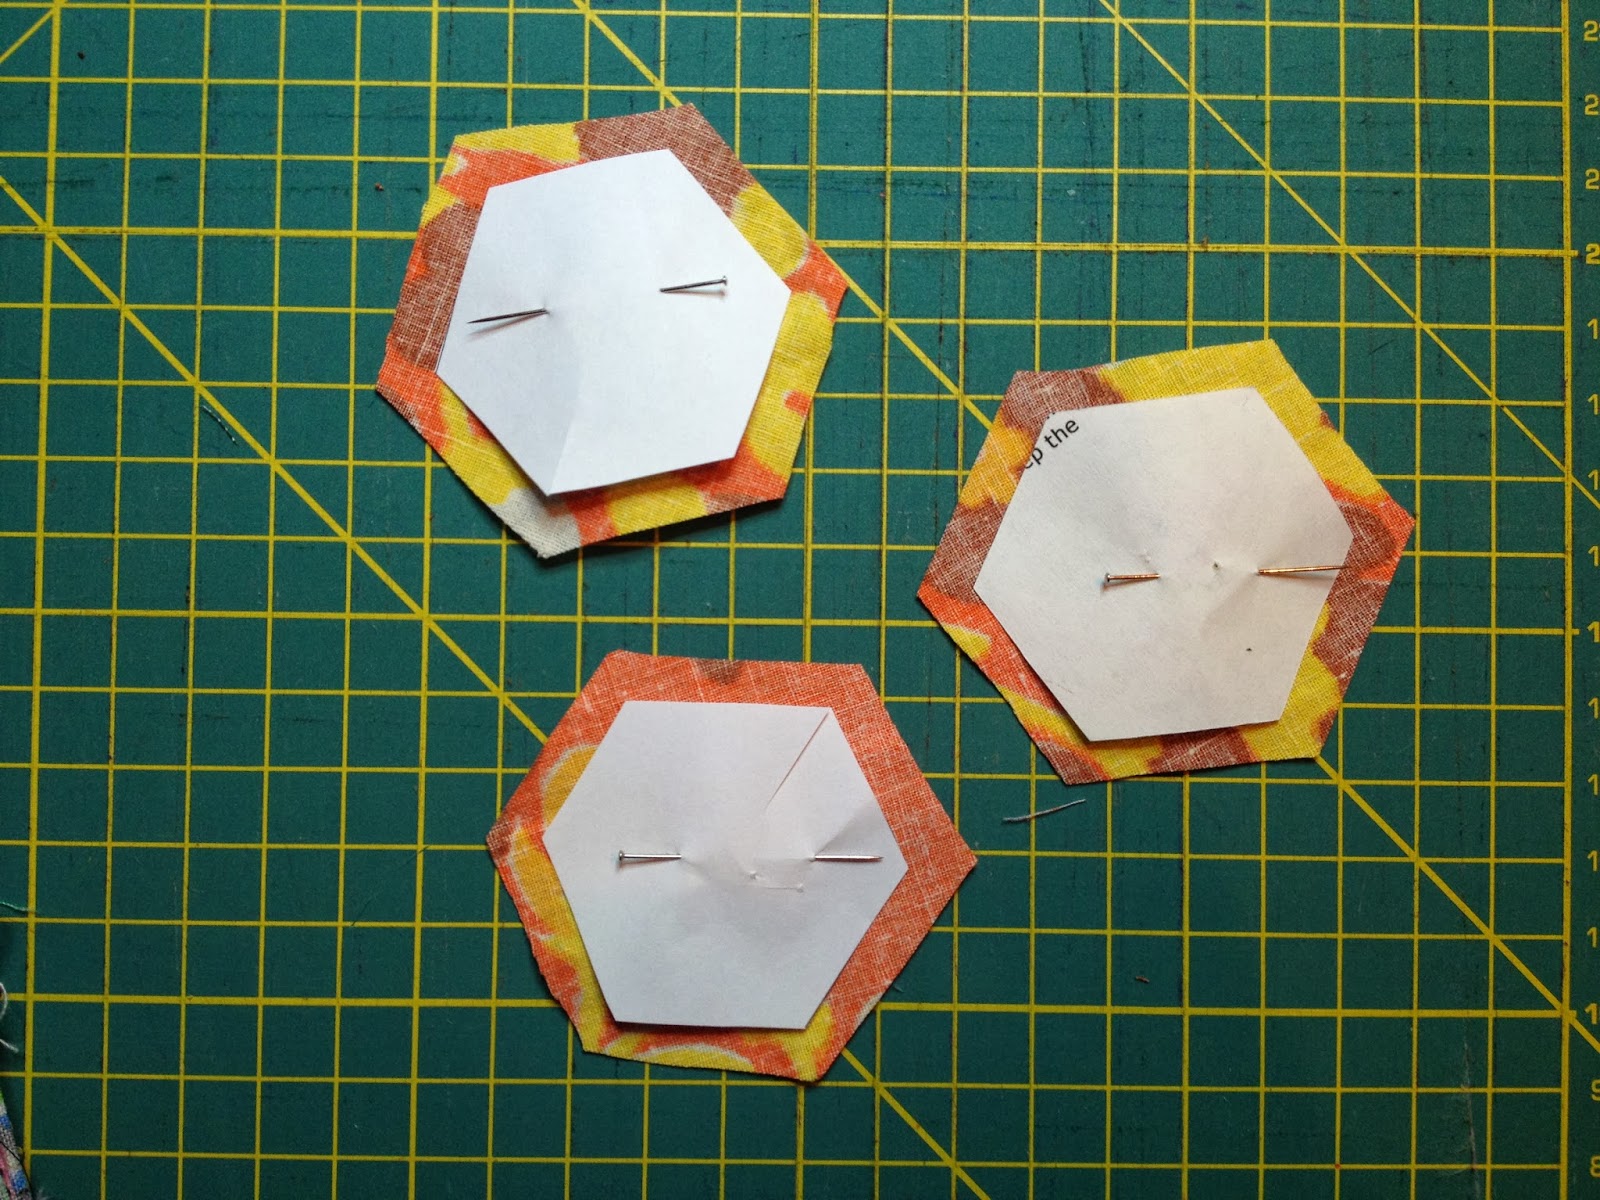
From now on you continue the same way. You place the paper pieces on the fabric so that there is a seam allowance. If you for precision, you take care and make this seam allowance same all over. It can be ¼” or 0,5cm or a little bit more or less in case the fabric is small. Please have in mind that with this thechnique we can use every small piece of fabric. Therefore, seam allowance that allows us to work. We pin the paper pieces and cut the fabric.
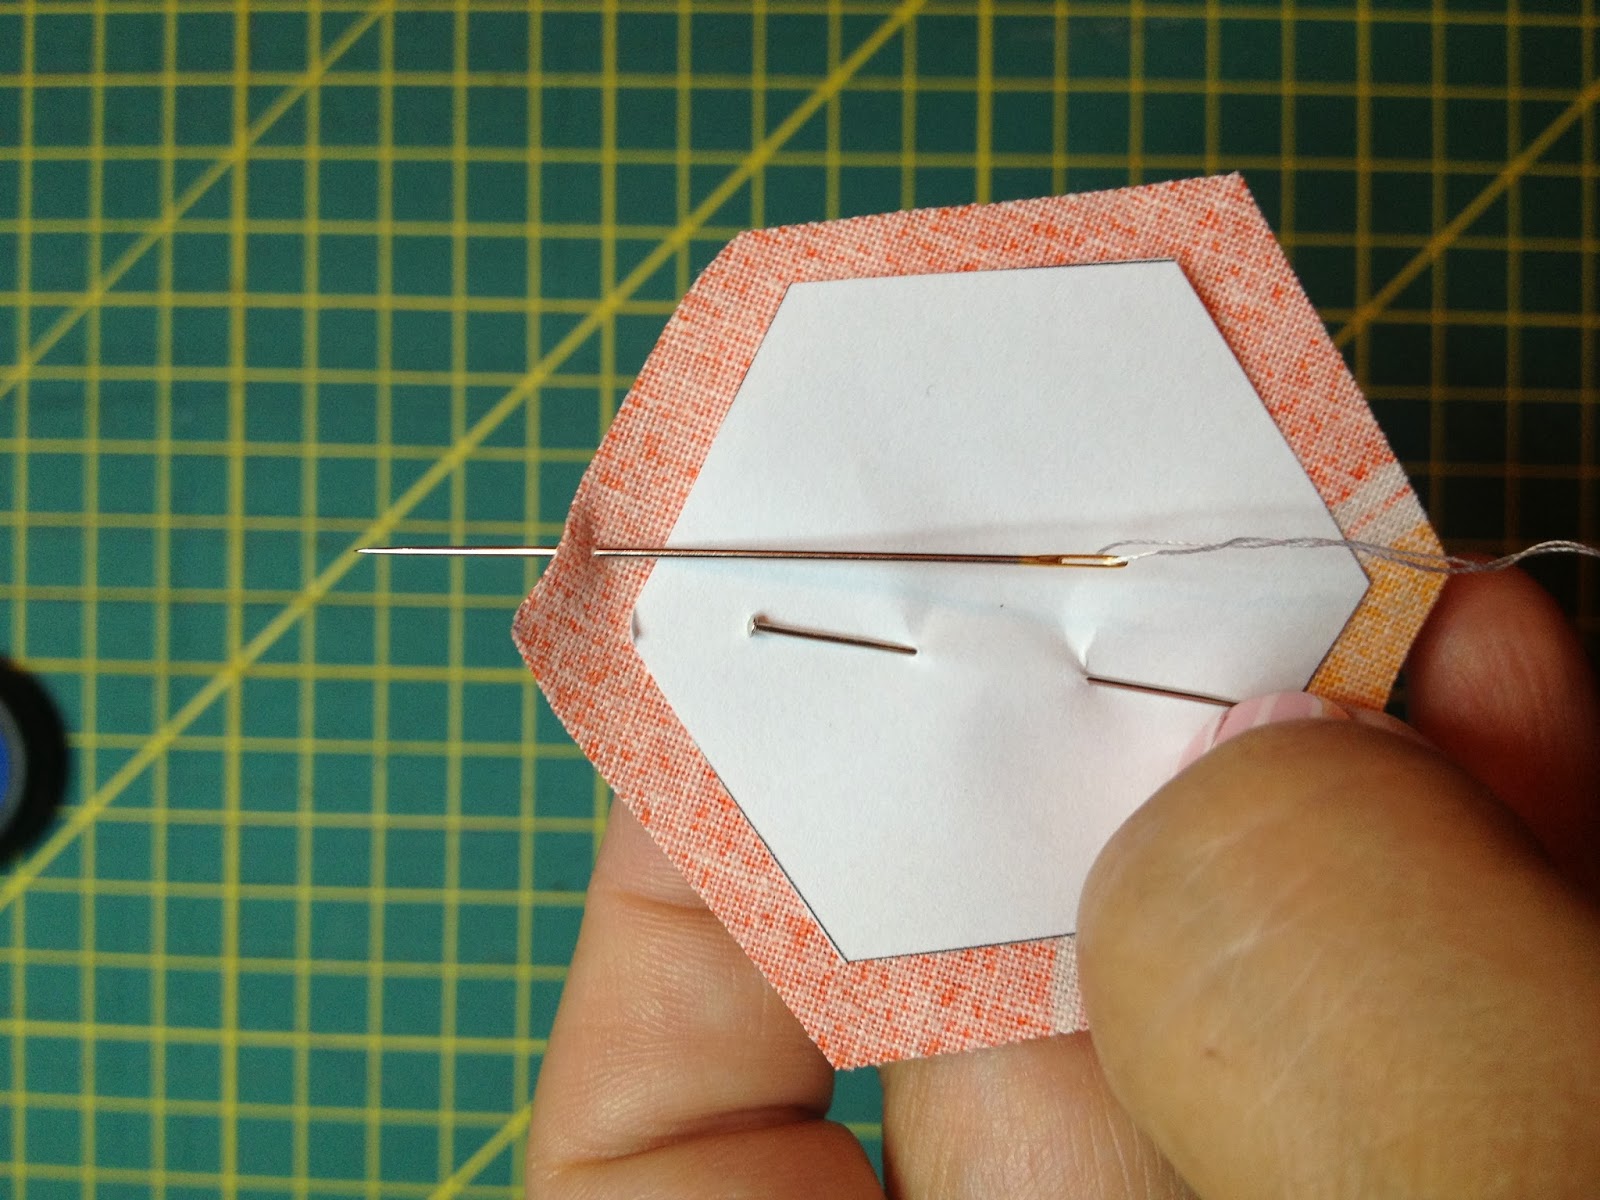
We make a knot and start like this.
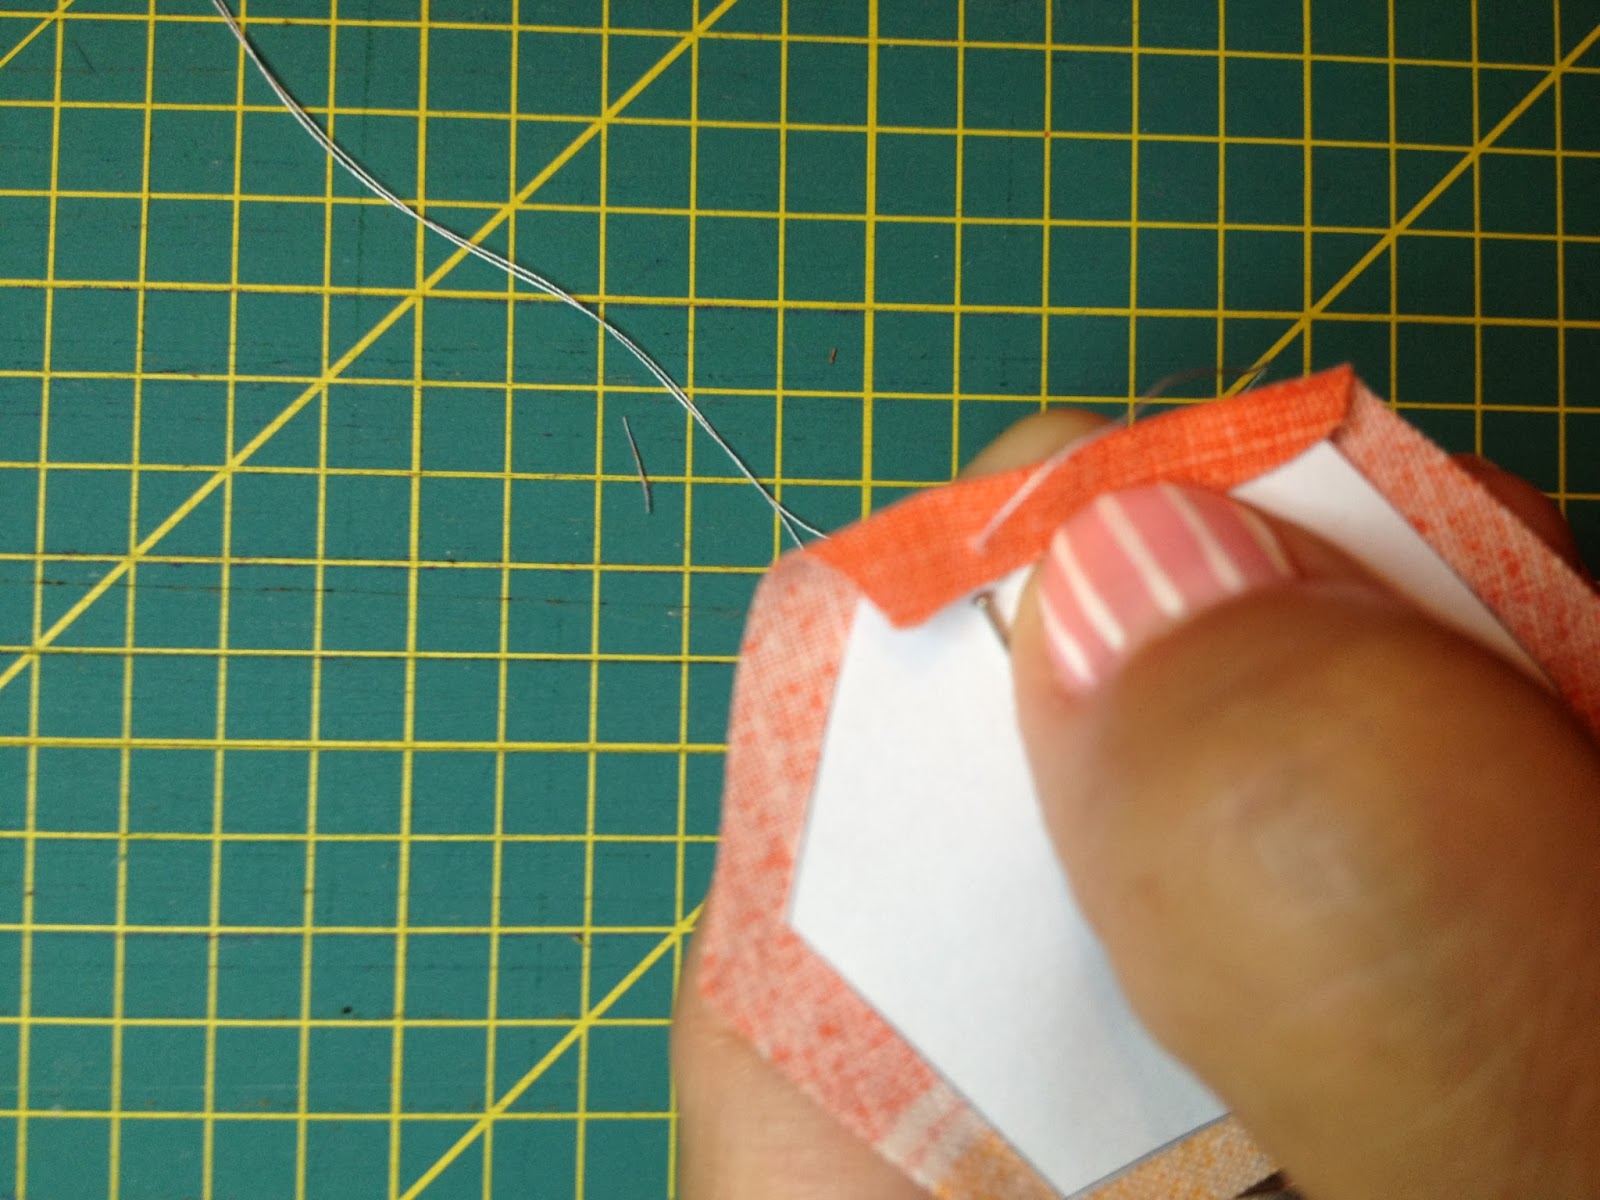
We fold the fabric on the first side.
We fold the fabric on the side next to the first and

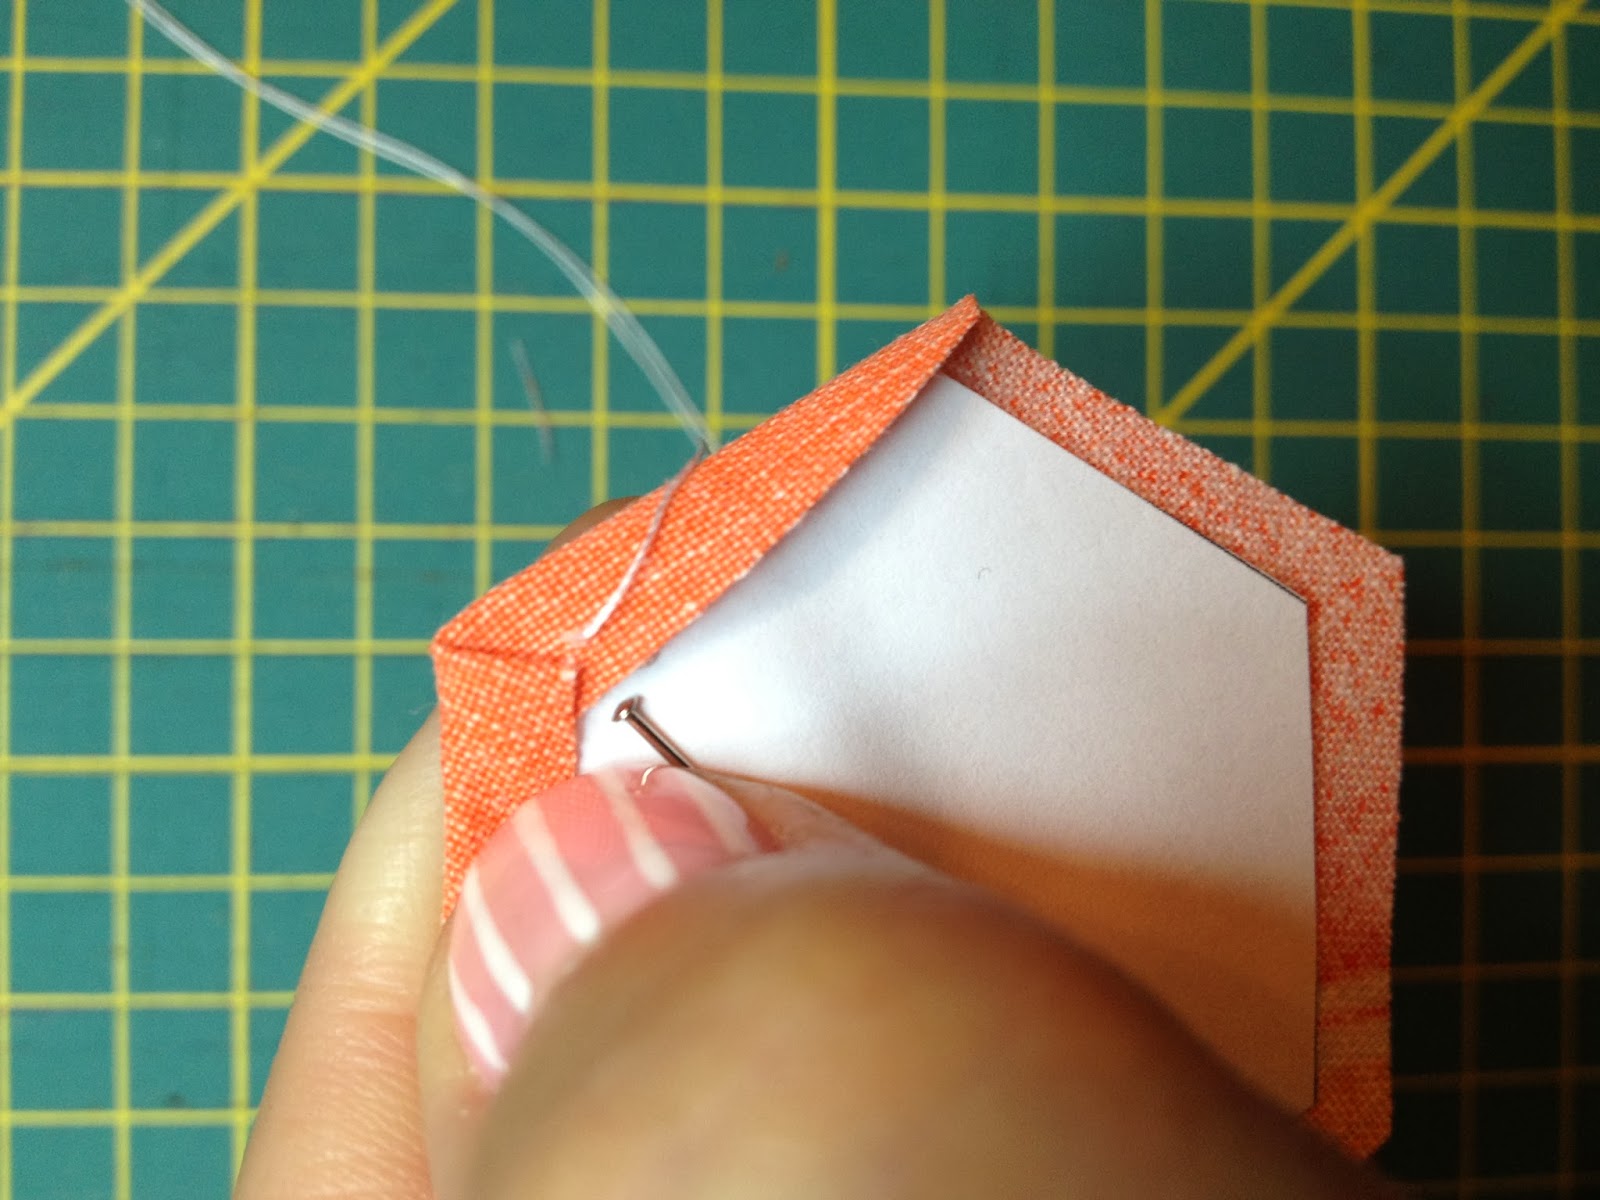
We fasten the corner with and go to the next corner. We fasten this corner as well and repeat the same thing for all corners around.
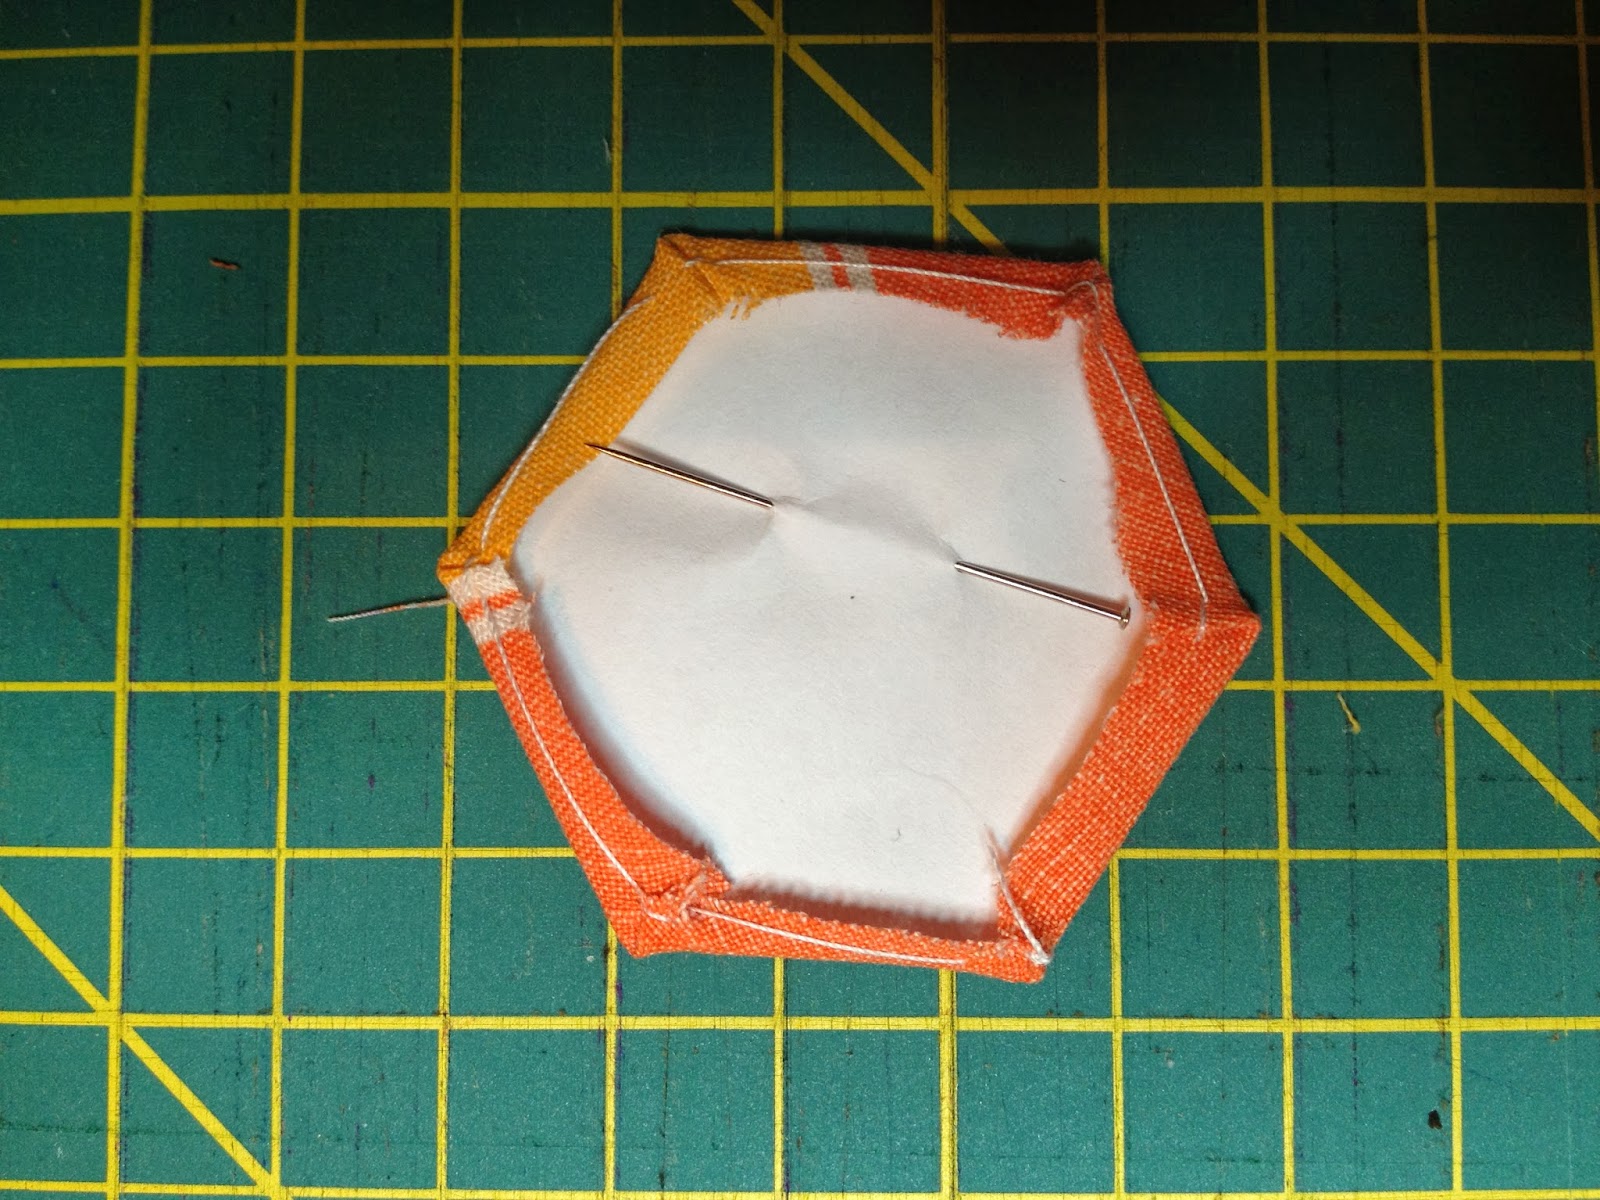
This is the result. (Of course in my case. I am not at all careful with whatever is to be hidden on the back side). I am talking for the seam allowance that is not equal, because I used small pieces of fabric.
When you cut bigger pieces of fabric, as described above, you can be more precise. In any case this must not be stressful because you are the only one who will know it.

Repeat the same thing for all your pieces, that must be something like this from the right side.
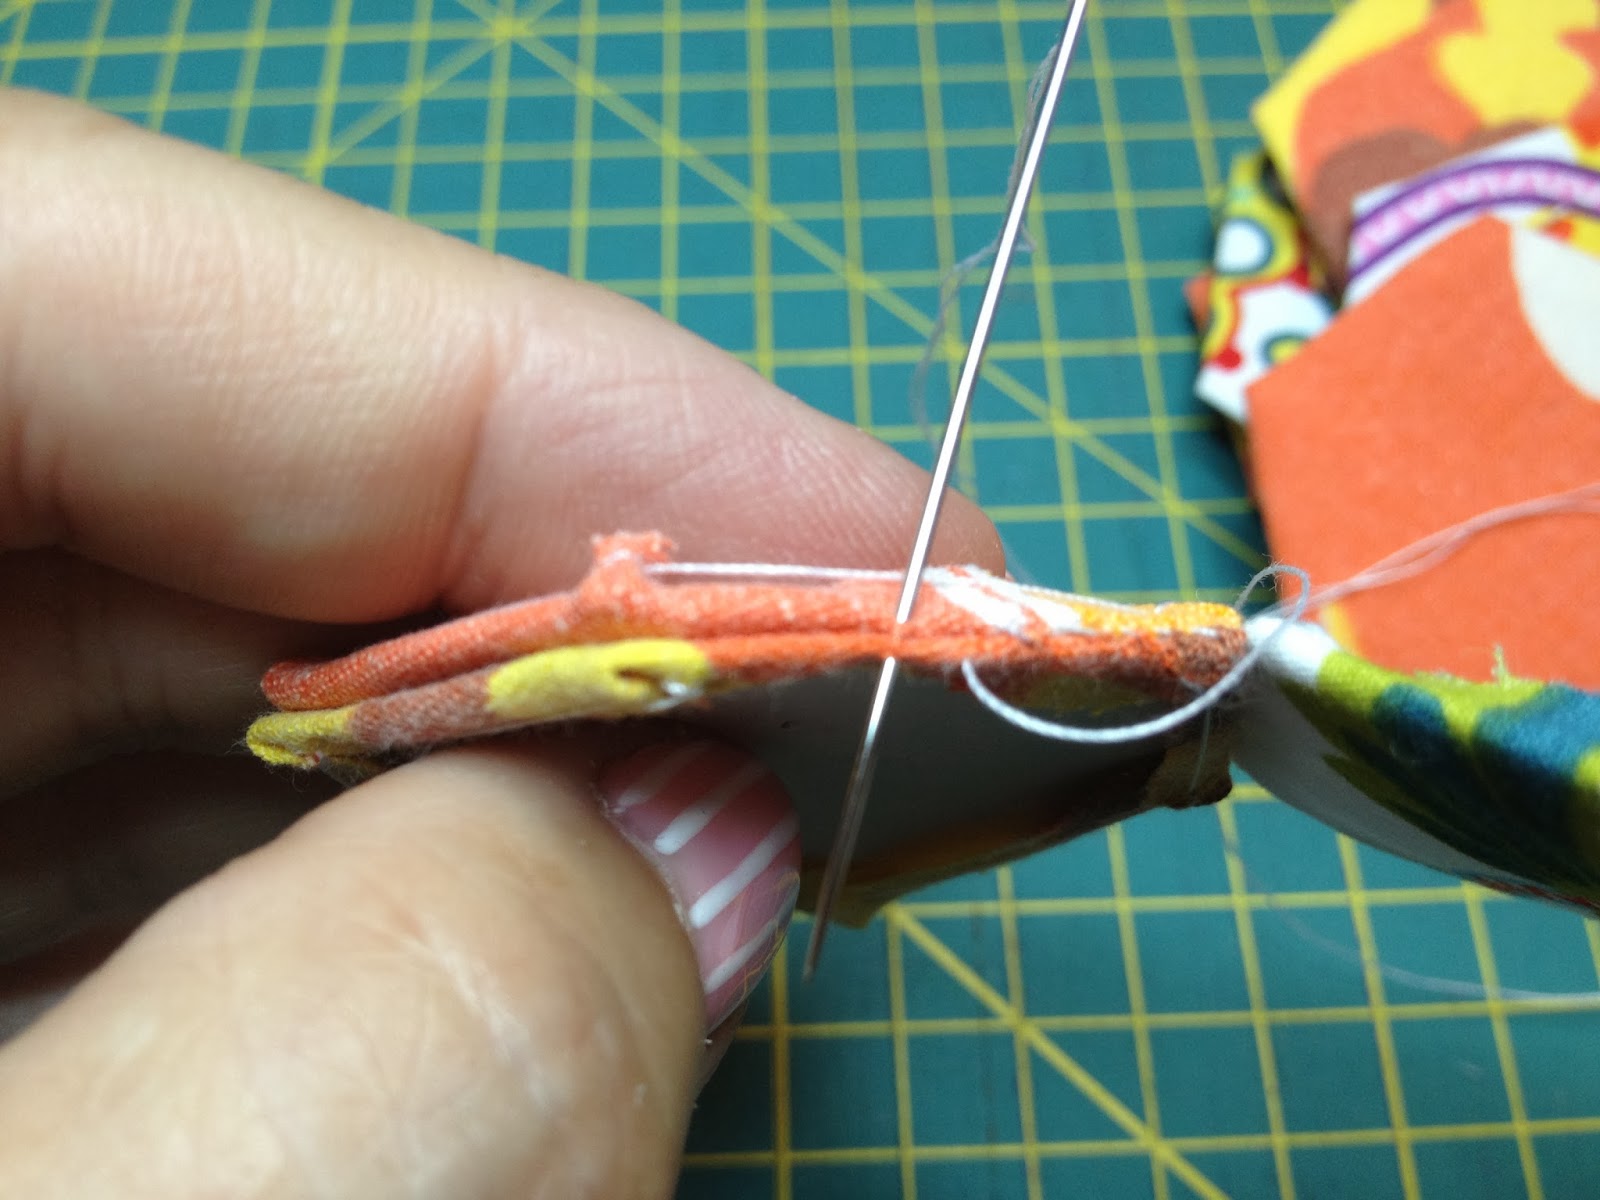
Let’ s go sew them together. We put two hexagons right sides together and start joining. You may need to fold the hexagons in some instances in order to be able to sew. Take a few very tiny stitches from one corner to the other.
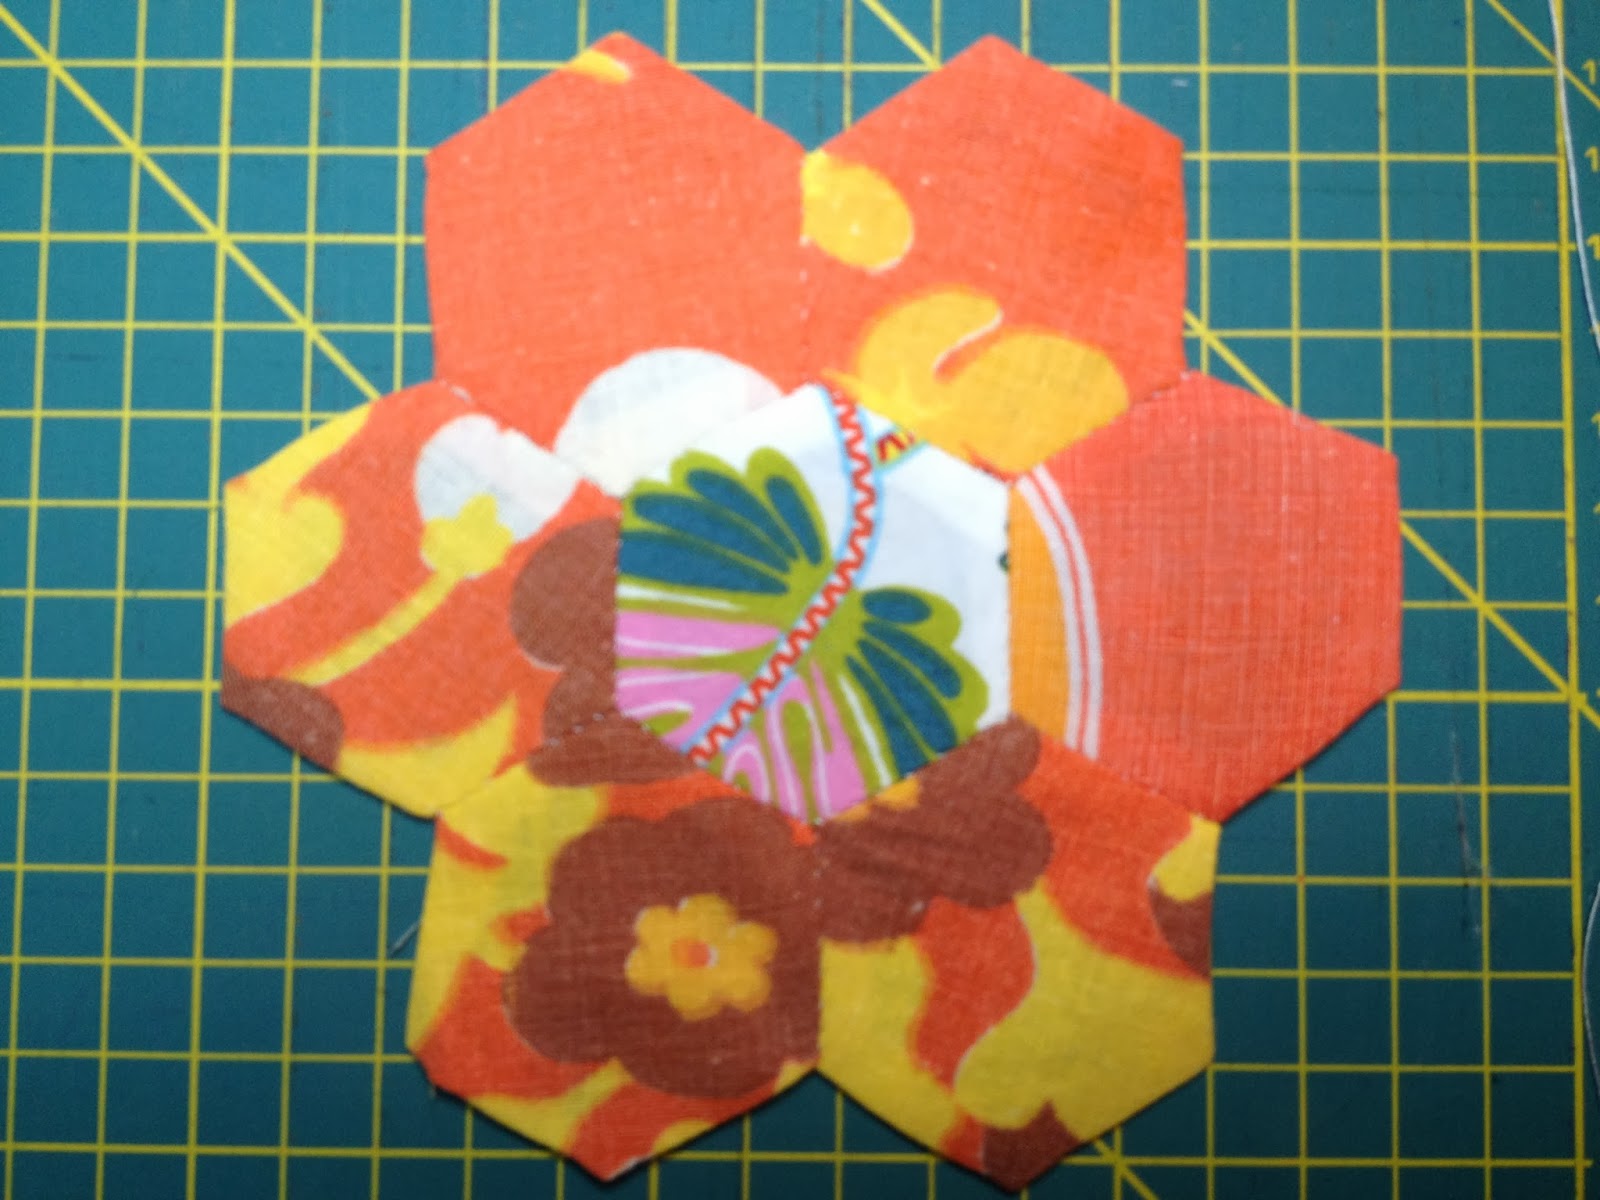
Having joined all your pieces, you will have this rosette, if this is the set up you chose.
You take paper pieces carefully and you keep them in order to use them again. If they are wrinkled, you may iron them without steam.

You understand that he combinations you can make are endless. Especially if you also combine different shapes…..
And remember; hexagons are so addictive!!! Take a look at the following picture and let yourself dreaming about what you could do, should this box were yours…….


Με τέτοια χρυσά χέρια, μ' αρέσει που έχεις και αμφιβολίες. Το καλό με αυτά τα εξάγωνα είναι ότι δείχνουν πολύ όμορφα ακόμα κι όταν τα απλικάρεις κάπου.
LikeLike
ΤΕΤΟΙΟΥ ΕΙΔΟΥΣ ΔΕΝ ΕΚΑΝΑ!!!!
ΘΑ ΤΟ ΠΡΟΣΠΑΘΗΣΩ ΚΑΝΟΝΤΑΣ ΚΑΤΙ ΜΙΚΡΟ, ΜΙΑ ΤΣΑΝΤΑ ΠΧ.
ΕΛΠΙΖΩ ΝΑ ΤΑ ΚΑΤΑΦΕΡΩ!!!!!
LikeLike
Σ' ευχαριστώ πολύ. Έχεις κάνει ποτέ πάτσγουωρκ και μάλιστα με τον τρόπο αυτό; Είναι πραγματικά εθιστικό και πολύ χαλαρωτικό
LikeLike
ΠΟΛΥ ΚΑΛΕΣ ΚΑΙ ΧΡΗΣΙΜΕΣ ΟΙ ΠΛΗΡΟΦΟΡΙΕΣ ΣΑΣ!!!!!!!
ΦΙΛΙΑ!!!
LikeLike