
This lesson is not just about patchwork. I set up this lesson, because I mainly wanted to try a product that I am very enthusiastic about. It is about a fabric that can be printed on a domestic printer.
It is something I used to see on sites abroad, but did not exist in Greece. Now, that you can find it at Ftiaxto e-shop, I could not resist and I tried it. It was a friend’s idea of those Opera pillows that excited me.
Ifighenia who is on the picture, works for National Opera. A great performance of National Opera was Madama Butterfly (this summer at Herodeion theater). Our common friend, Nikos, also working for National Opera, took that picture, worked on it and sent it to me to go further with it.
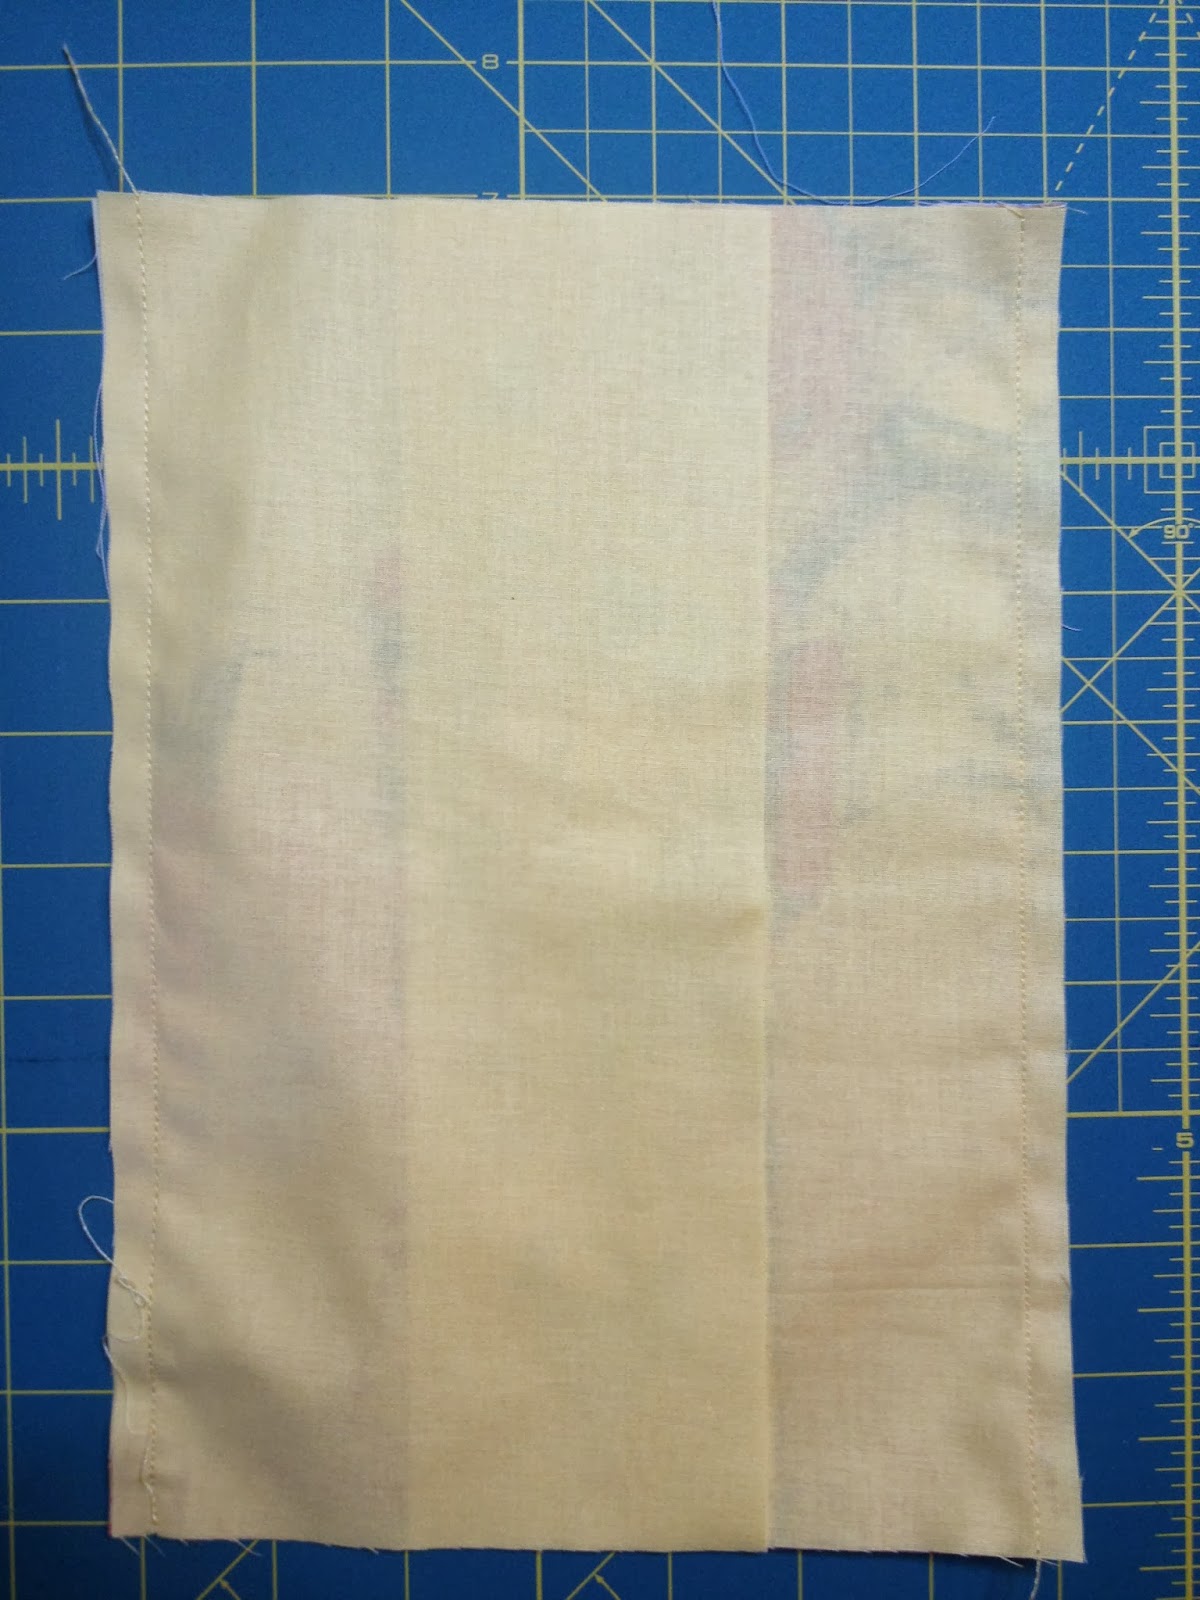
I took this product and following the very simple instructions, I printed the photo on my printer on this very special fabric. Please have in mind that it is quite easy. The only necessary is the printer to be an ink jet printer and not a laser one. We set paper quality to Plain Paper, whereas the printing quality to Best. The only thing you should pay attention to is the way you put the fabric/paper into the printer. Unfortunately you have to do this all alone, because each printer is different and I cannot give you a general guideline.
I placed the fabric/paper into my printer and printed it. I let it dry for 5 minutes and then I peeled off the back paper. It was very easy. I took my rotary cutter and my ruler and cut it to 6 ½ “ * 11” (16 * 28 cm) and ta dahhh!! Impressive, don’t you think?

It is self-understanding that you may wash it in the washing mashine and iron it as any cotton fabric. I have already tried it.
My task was to make a cushion out of the picture for Ifighenia. I wanted the output to be 16” (40 cm).

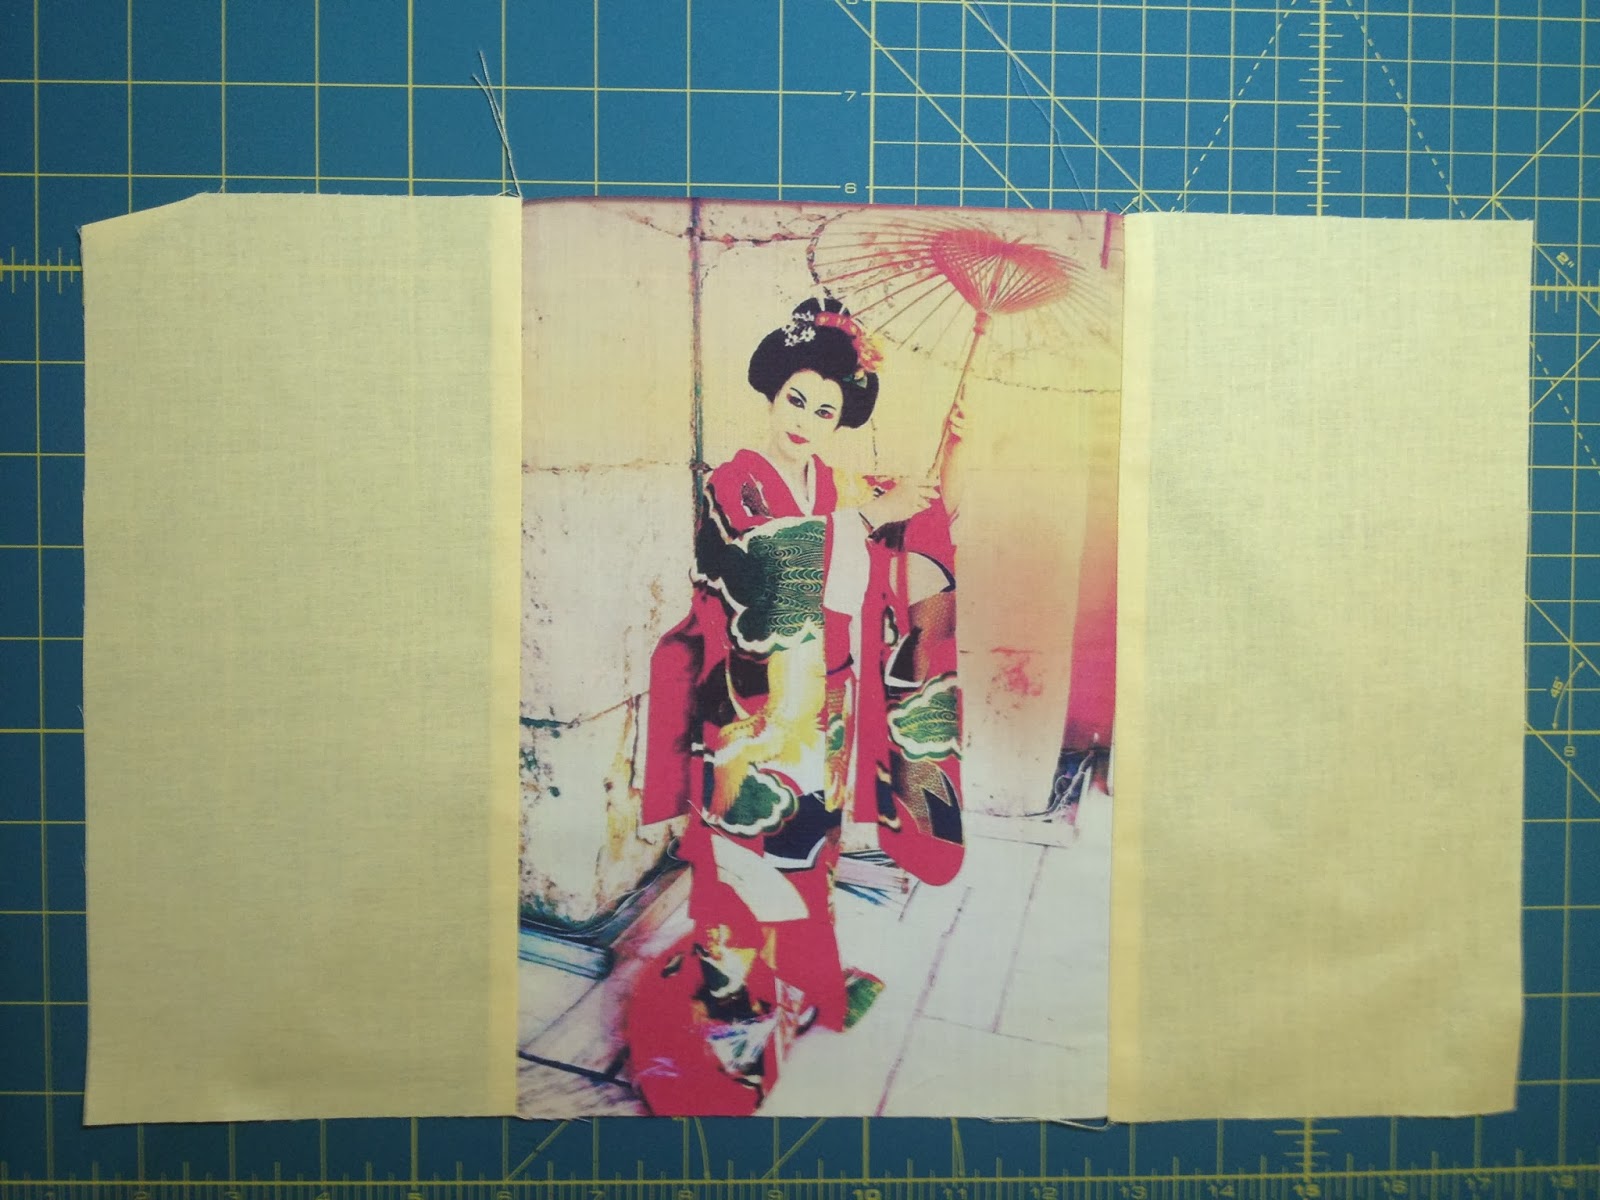
I cut 2 pieces of fabric 11” * 5 ½” (28*14 cm), 2 pieces 16 ½” * 3 ¼” (41 * 8 cm) and 1 last piece 16 ½” * 16 ½” (41 * 41 cm) for the back side of the cushion. I also bought a zipper in a matching color of 15” (40 cm). Seam allowance ¼” (0,75 cm).
I firstly saw the side pieces and ironed the whole thing:
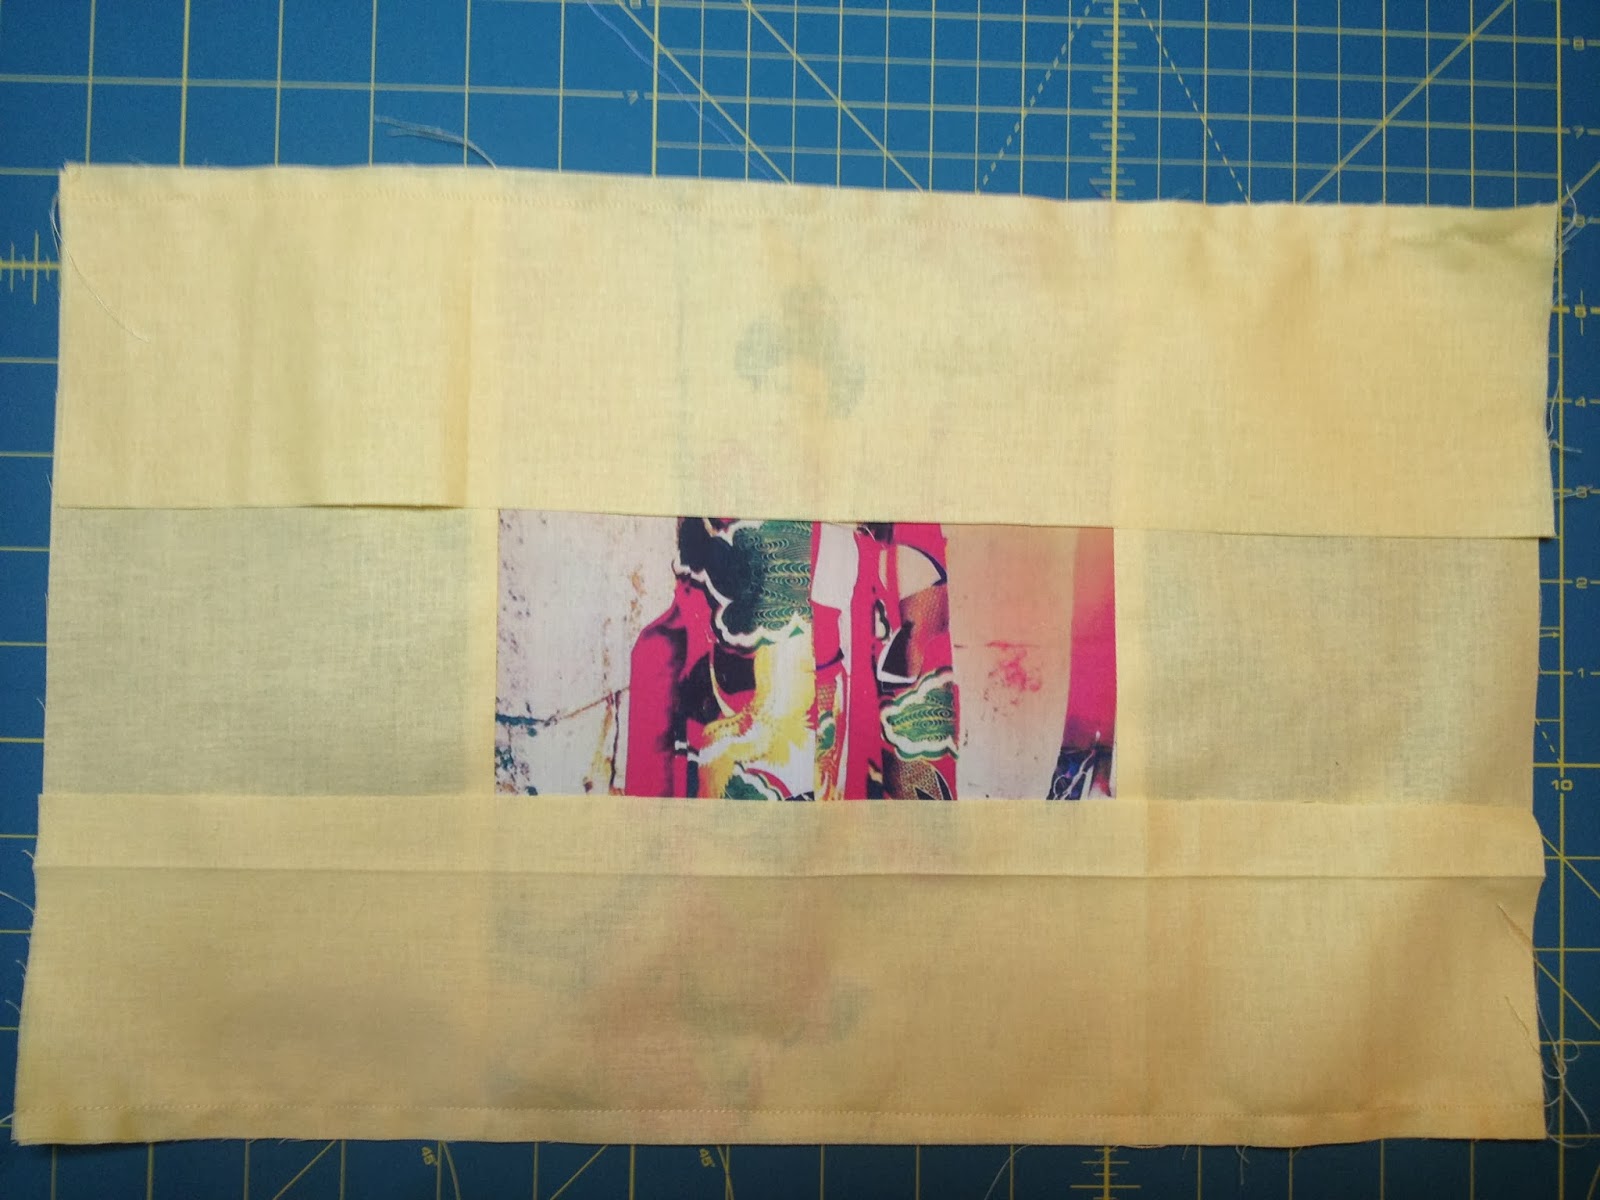
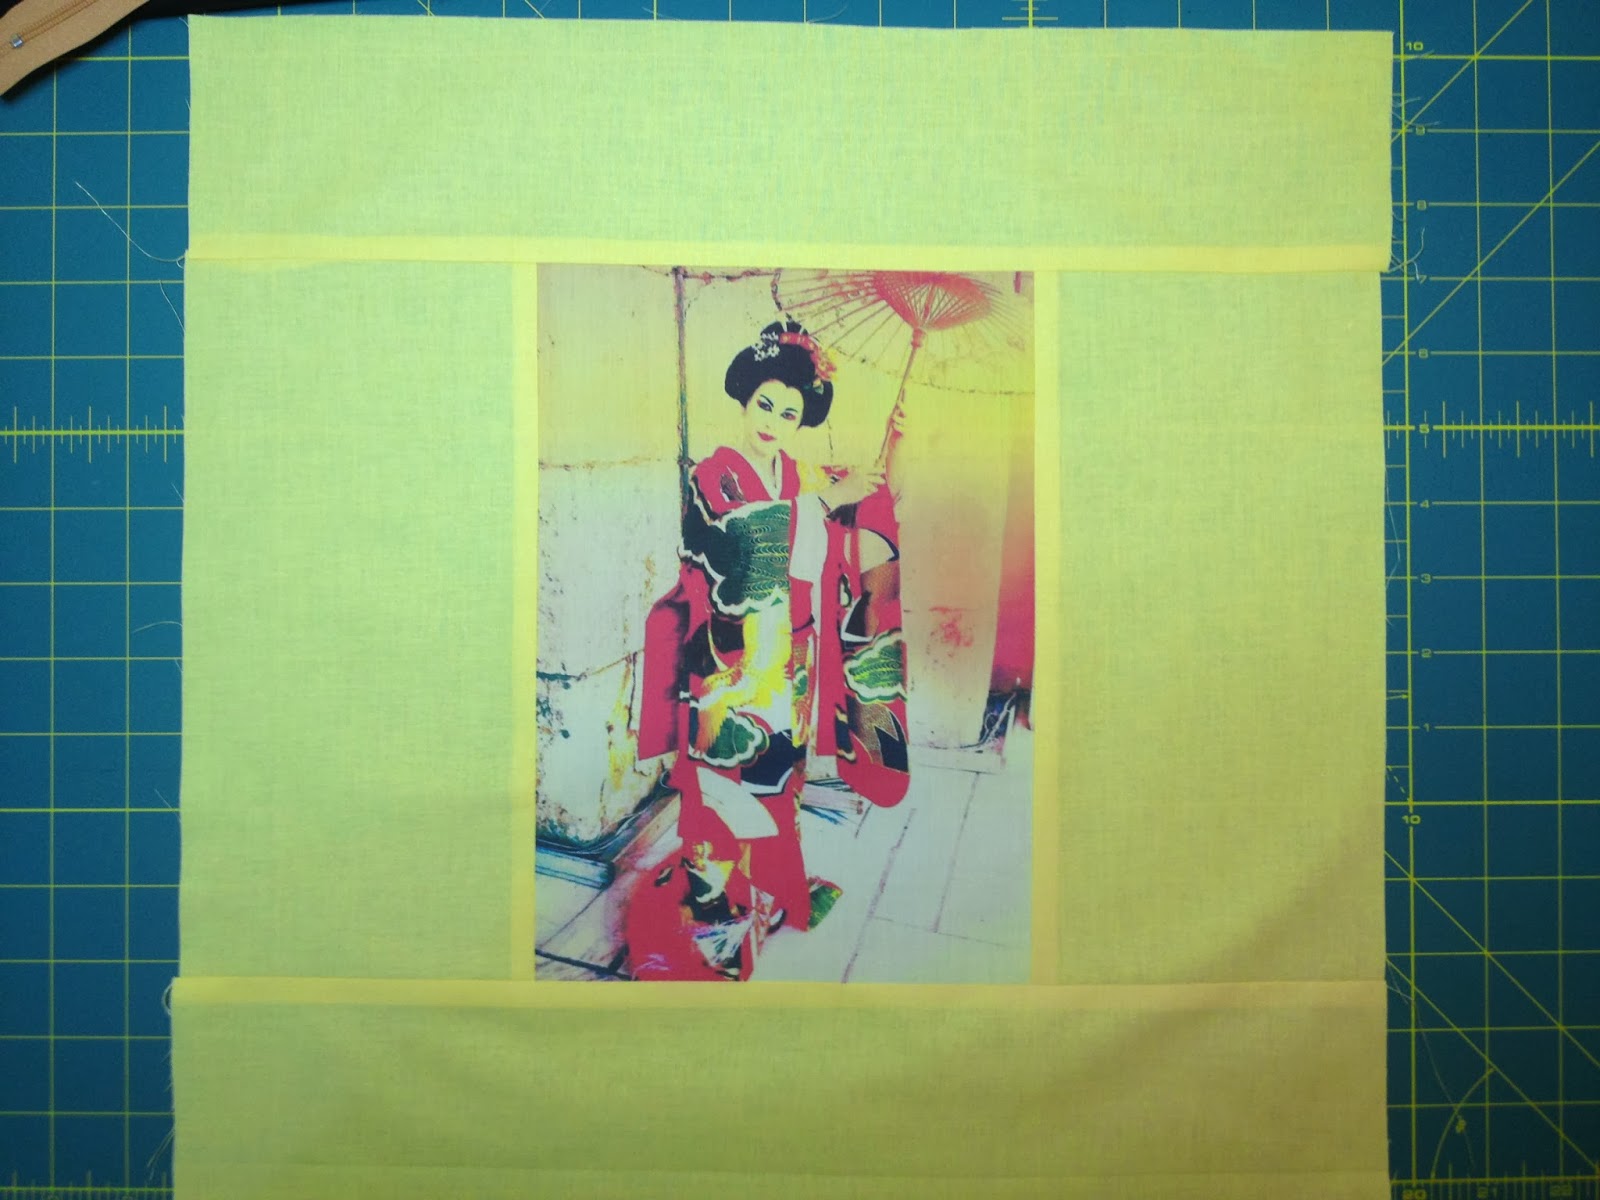
Then, I saw the above and below piece and ironed again.
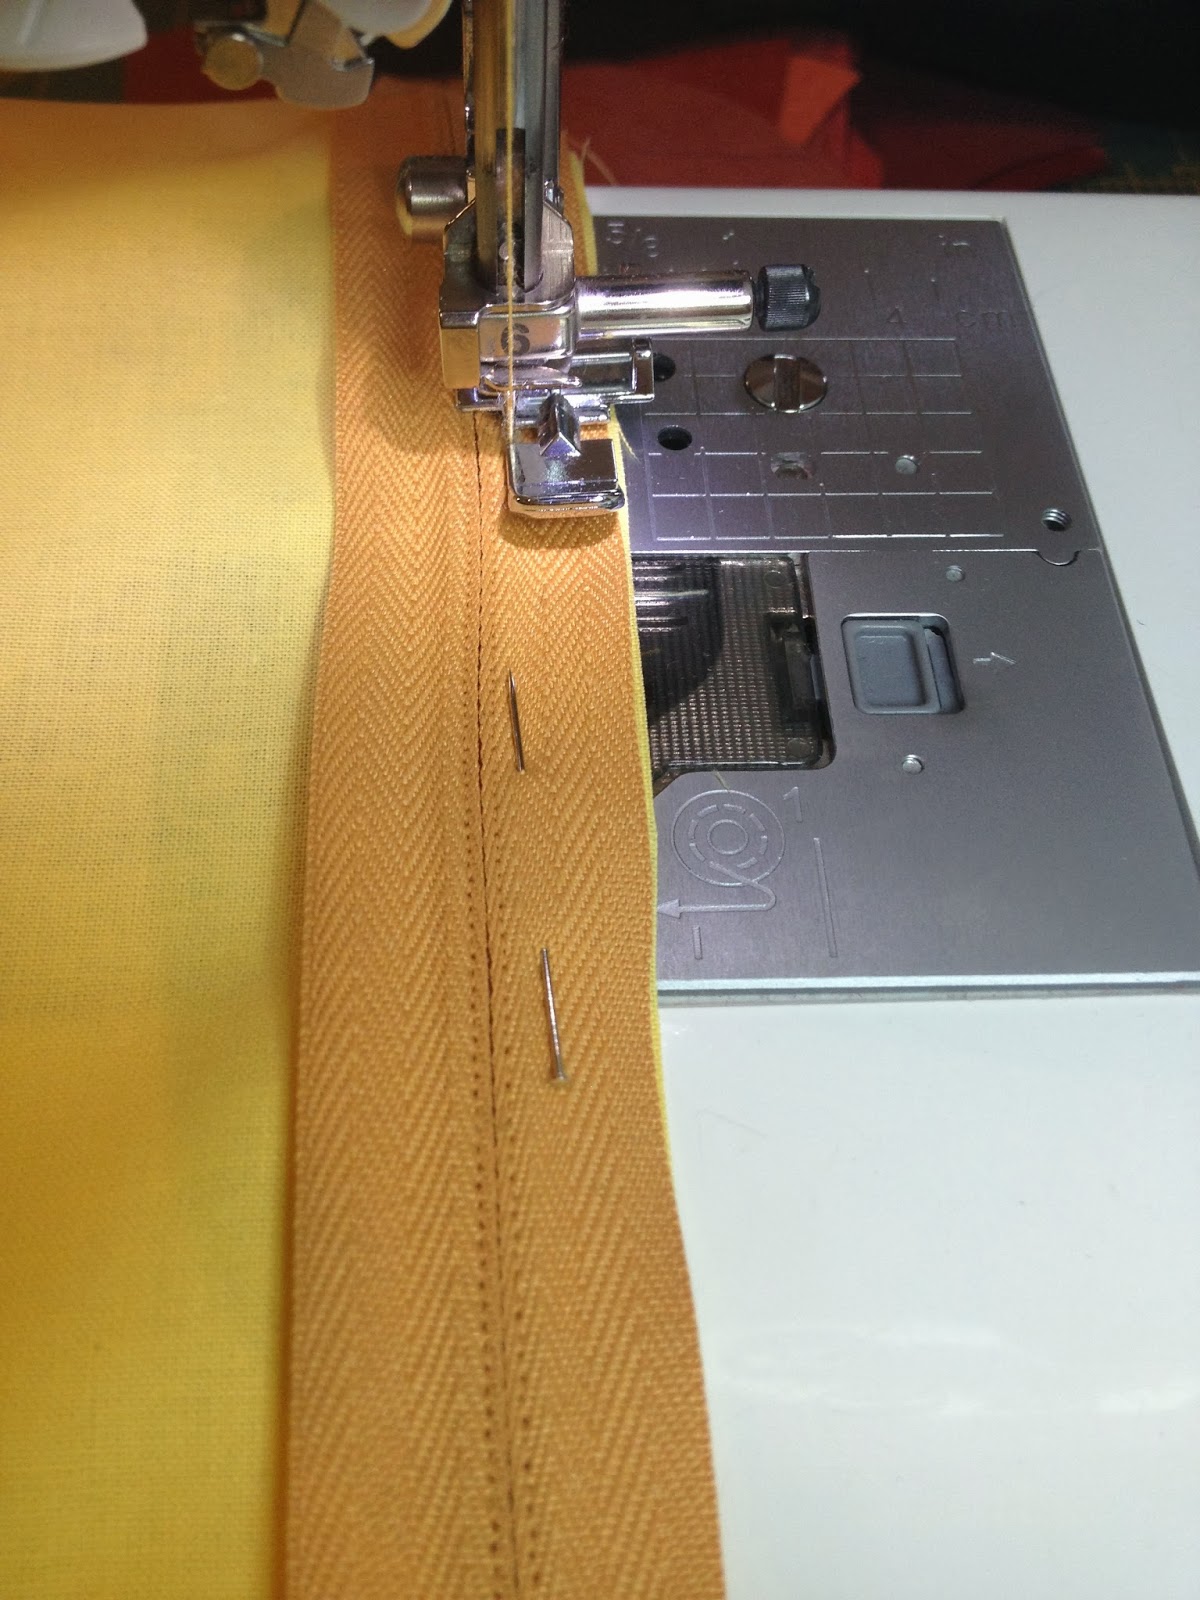
It is now time to sew the zipper. I fasten with pins the zipper on the front side of the pillow putting right sides together (down side). Pay attention and do not sew from edge to edge. I have put two vertical pins to mark the exact seam.

I put the right foot on my machine and sew:
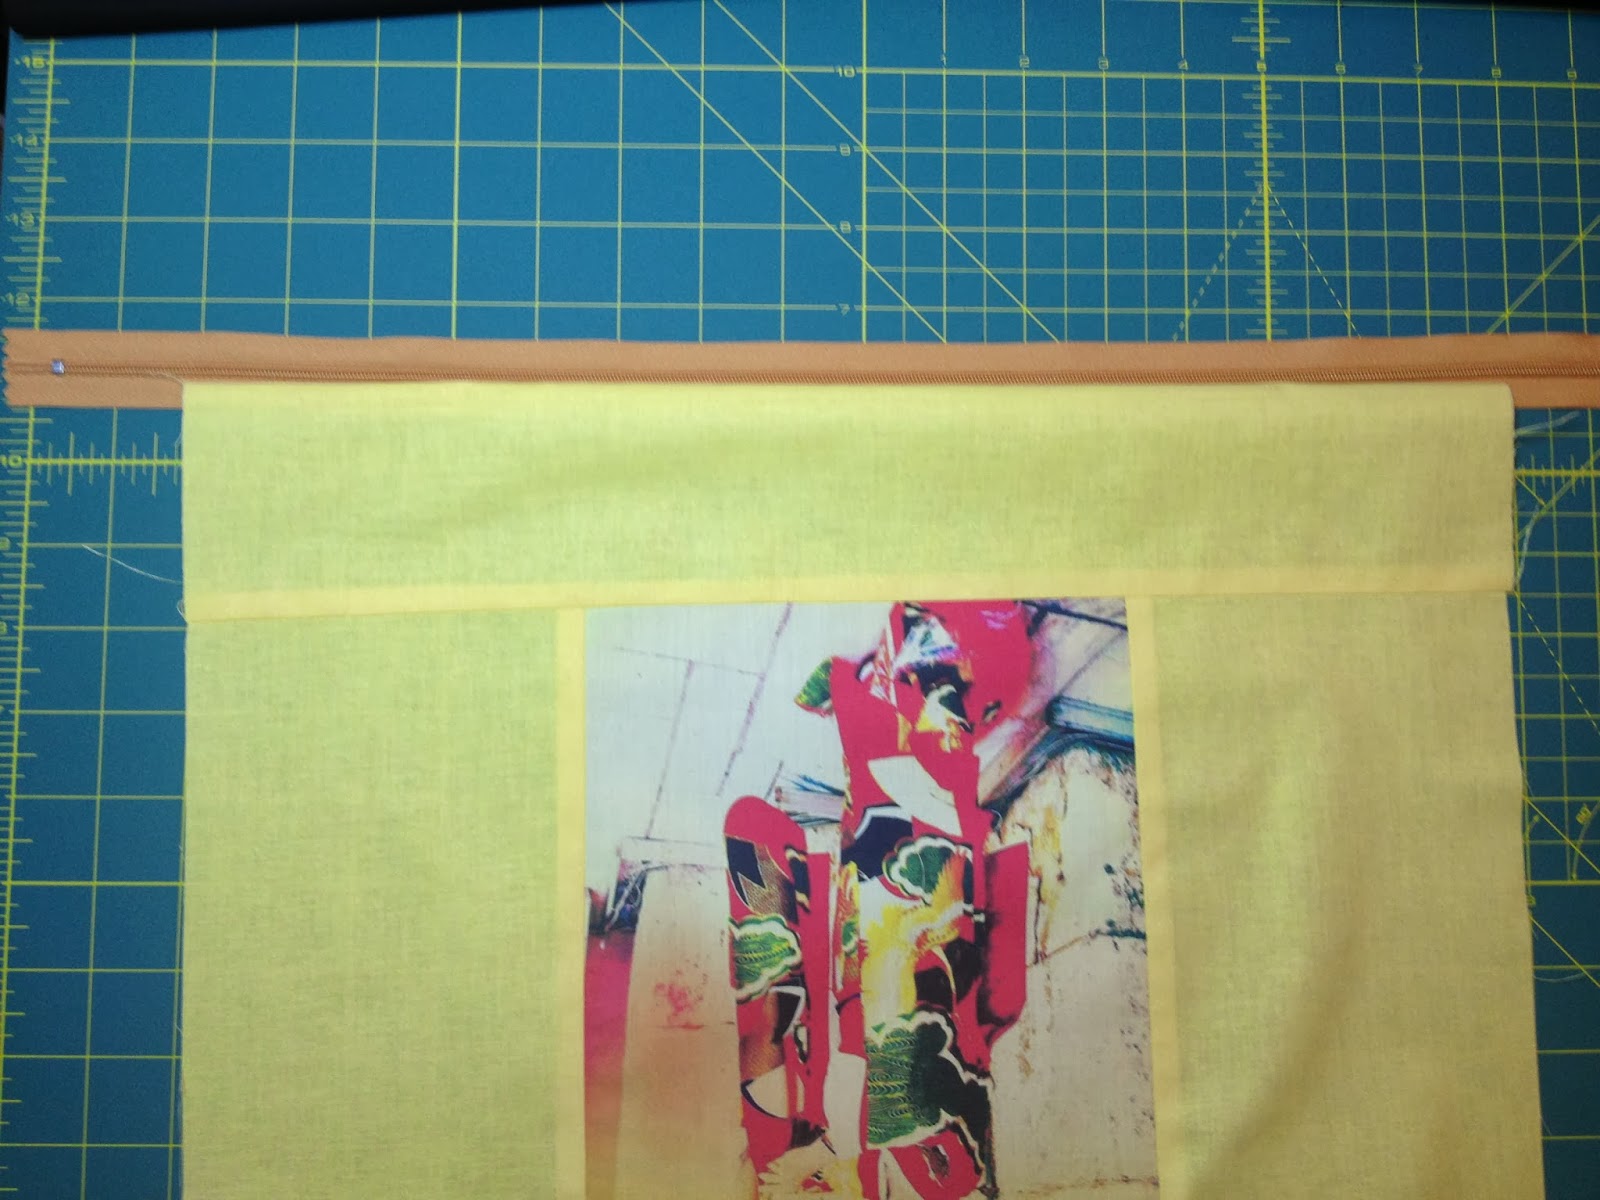
As you can see on the picture, I put on top the back piece of fabric and fasten with pins the zipper again, as I did for the front side. Pay again attention to vertical pins.

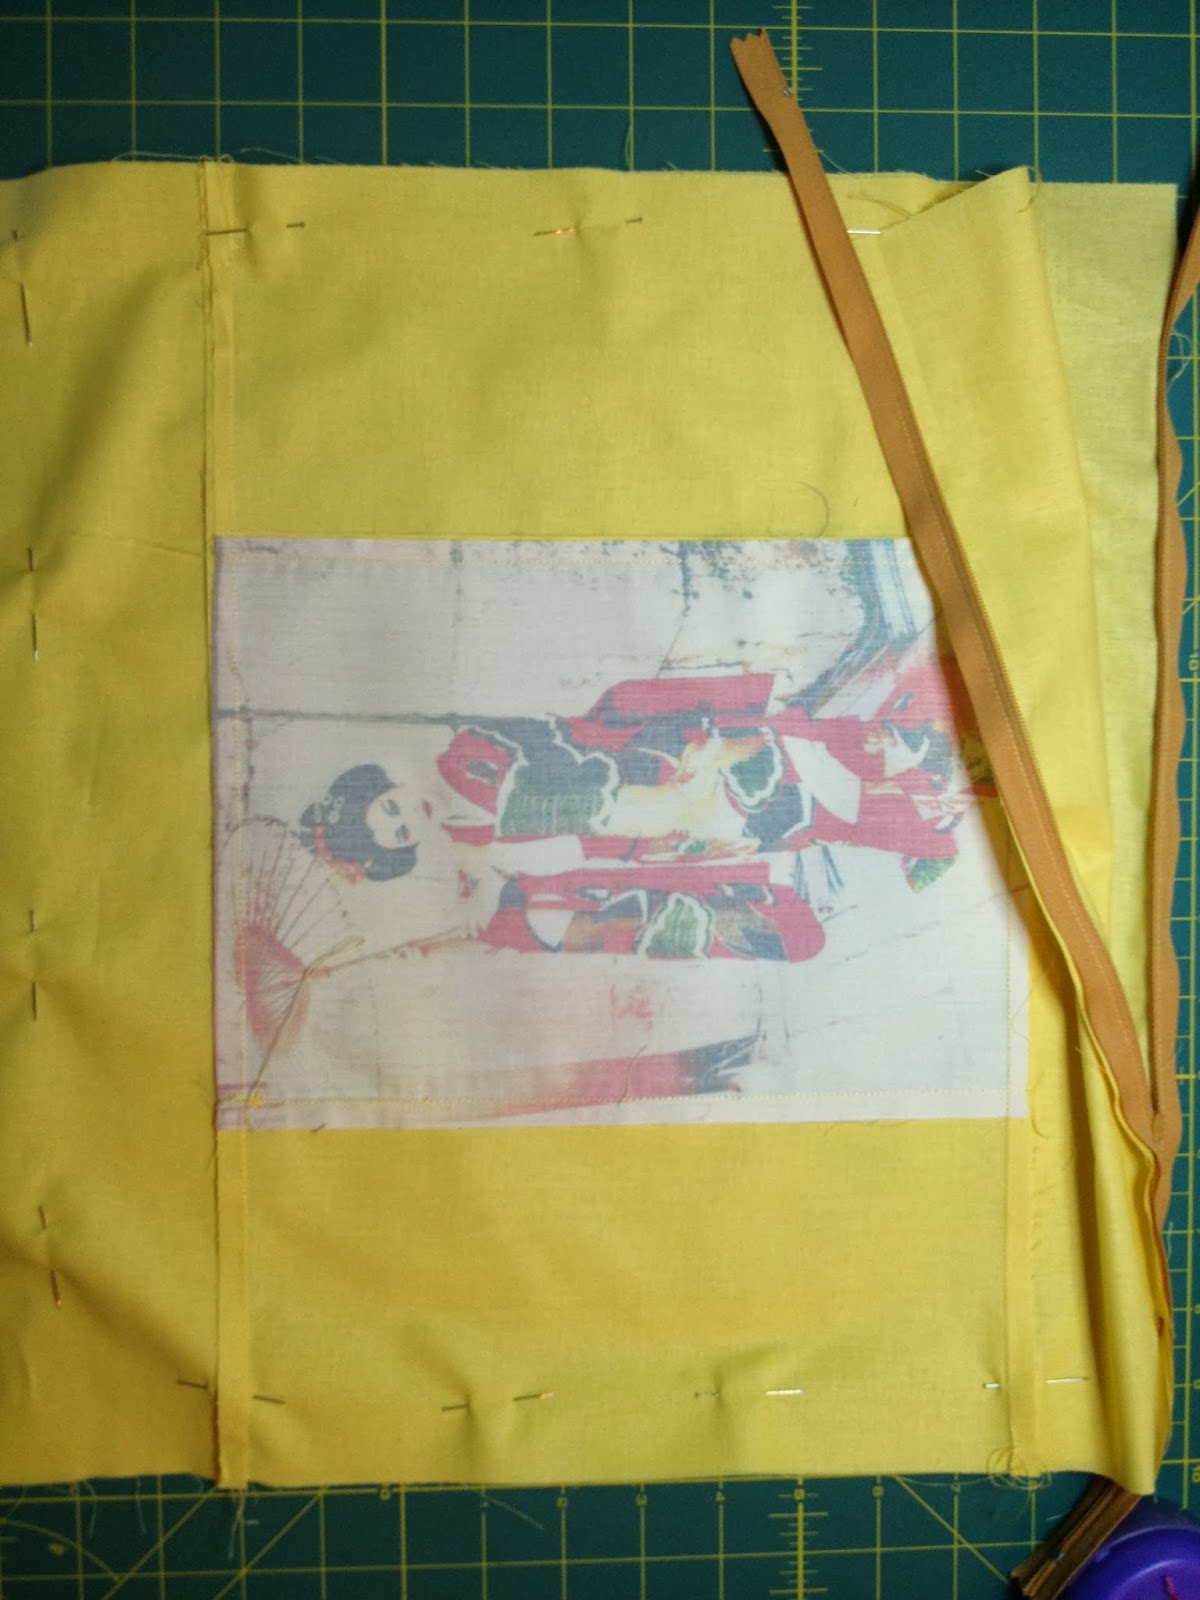
The zipper is ready. I fasten with pins or basting the rest three sides and I sew them. Please pay again attention and leave the zipper on, because you will not be able to turn the cushion inside out. Should you need more details about the zipper, take a look here.
Turn your cushion to the right side, put your wadding and voila:
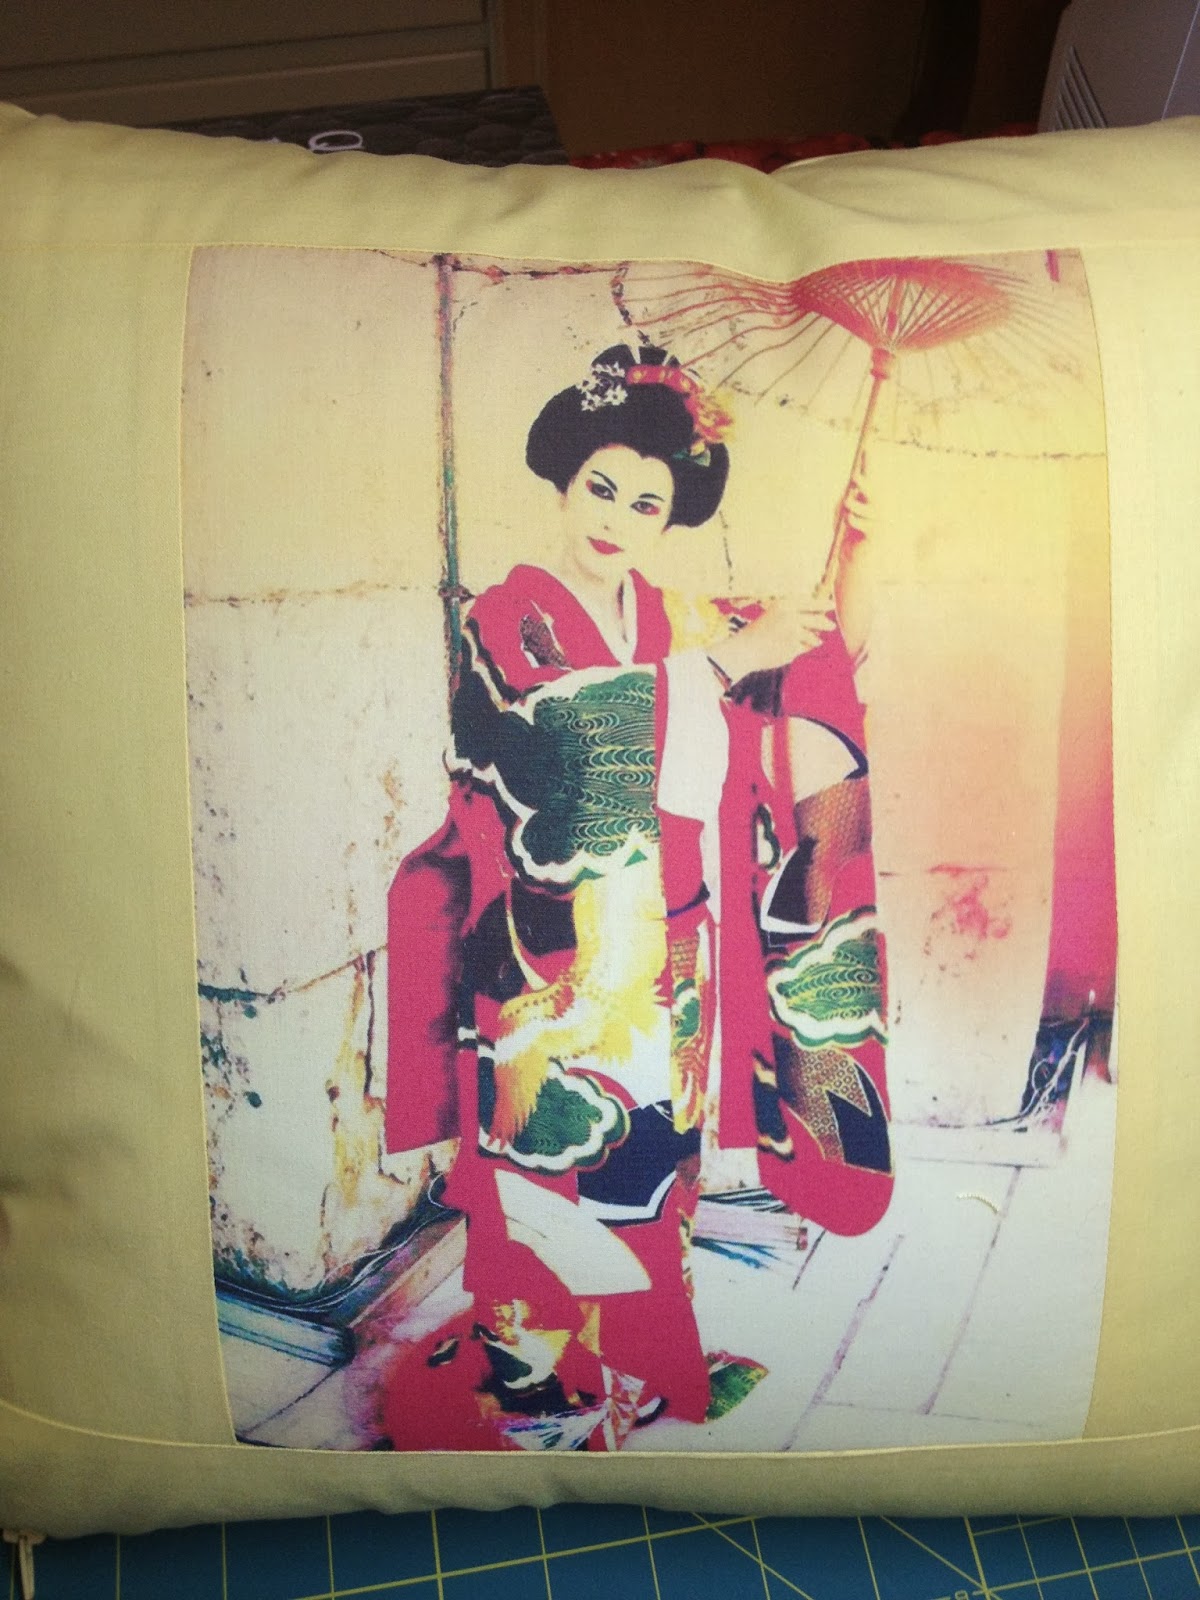
Perfect. Don’t you think? Thanks Nikos and Ifighenia!
And you… now that you know, just think of what you can do with this product. A small quilt with your children pictures or small cushions with your baby’s picture for grandparents or with your photo for your sweetheart or…… The possibilities are endless.

Thanks Mary. I enjoyed every step of the making. Do you make any patchwork?
LikeLike
Ευχαριστώ πολύ Μαριάννα (ή σε φωνάζουν Μαριάν) Οι δυνατότητες είναι εκπληκτικές
LikeLike
That is amazing! Your cushion is beautiful.
LikeLike
Υπέροχο έγινε το μαξιλάρι !!! Πολύ ωραία ιδέα η εκτύπωση σε ύφασμα!!!!!
Καλό μήνα!!!!!
LikeLike