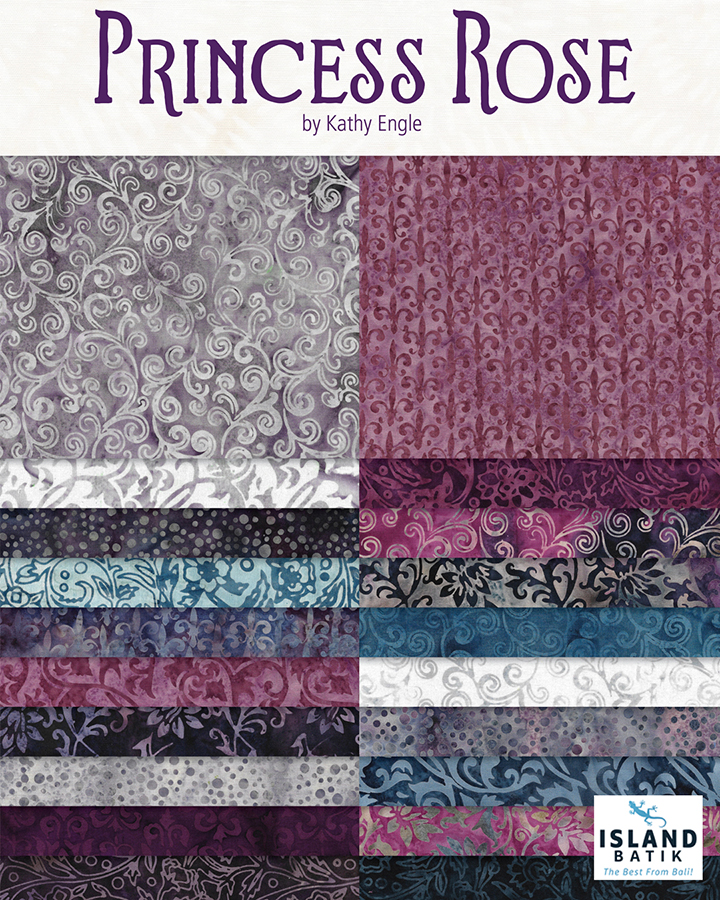
Today is my turn for February blog hop. The collection I was sent by Island Batik is Princess Rose designed by Kathy Engle. A little bit dark colors, very beautiful though. The pattern was indicated by Island Batik. We could only play with the pattern. Therefore I thought of making two pillows for two rocking iron chairs that I have at our summer house.
Σήμερα είναι η σειρά μου για τις μπλογκοεπισκέψεις του Φεβρουαρίου. Η συλλογή που μου έστειλαν τα Island Batik είναι η Princess Rose σχεδιασμένη από την Kathy Engle. Λίγο σκούρα τ;α χρώματα, αλλά πολύ όμορφα. Το σχέδιο μας το είχαν προκαθορίσει τα Island Batik. Μπορούσαμε να κάνουμε όμως κάποιες παραλλαγές. Γι αυτό κι εγώ σκέφτηκα να κάνω δυο μαξιλάρια για δυο κουνιστές σιδερένιες καρέκλες που έχω στο εξοχικό μας.
II designed the project on the EQ8. Each piece is measuring 22″ * 64″.
Σχεδίασα το έργο μου στο ηλεκτρονικό μου πρόγραμμα. Κάθε κομμάτι είναι 55 εκ επί 160 εκ.
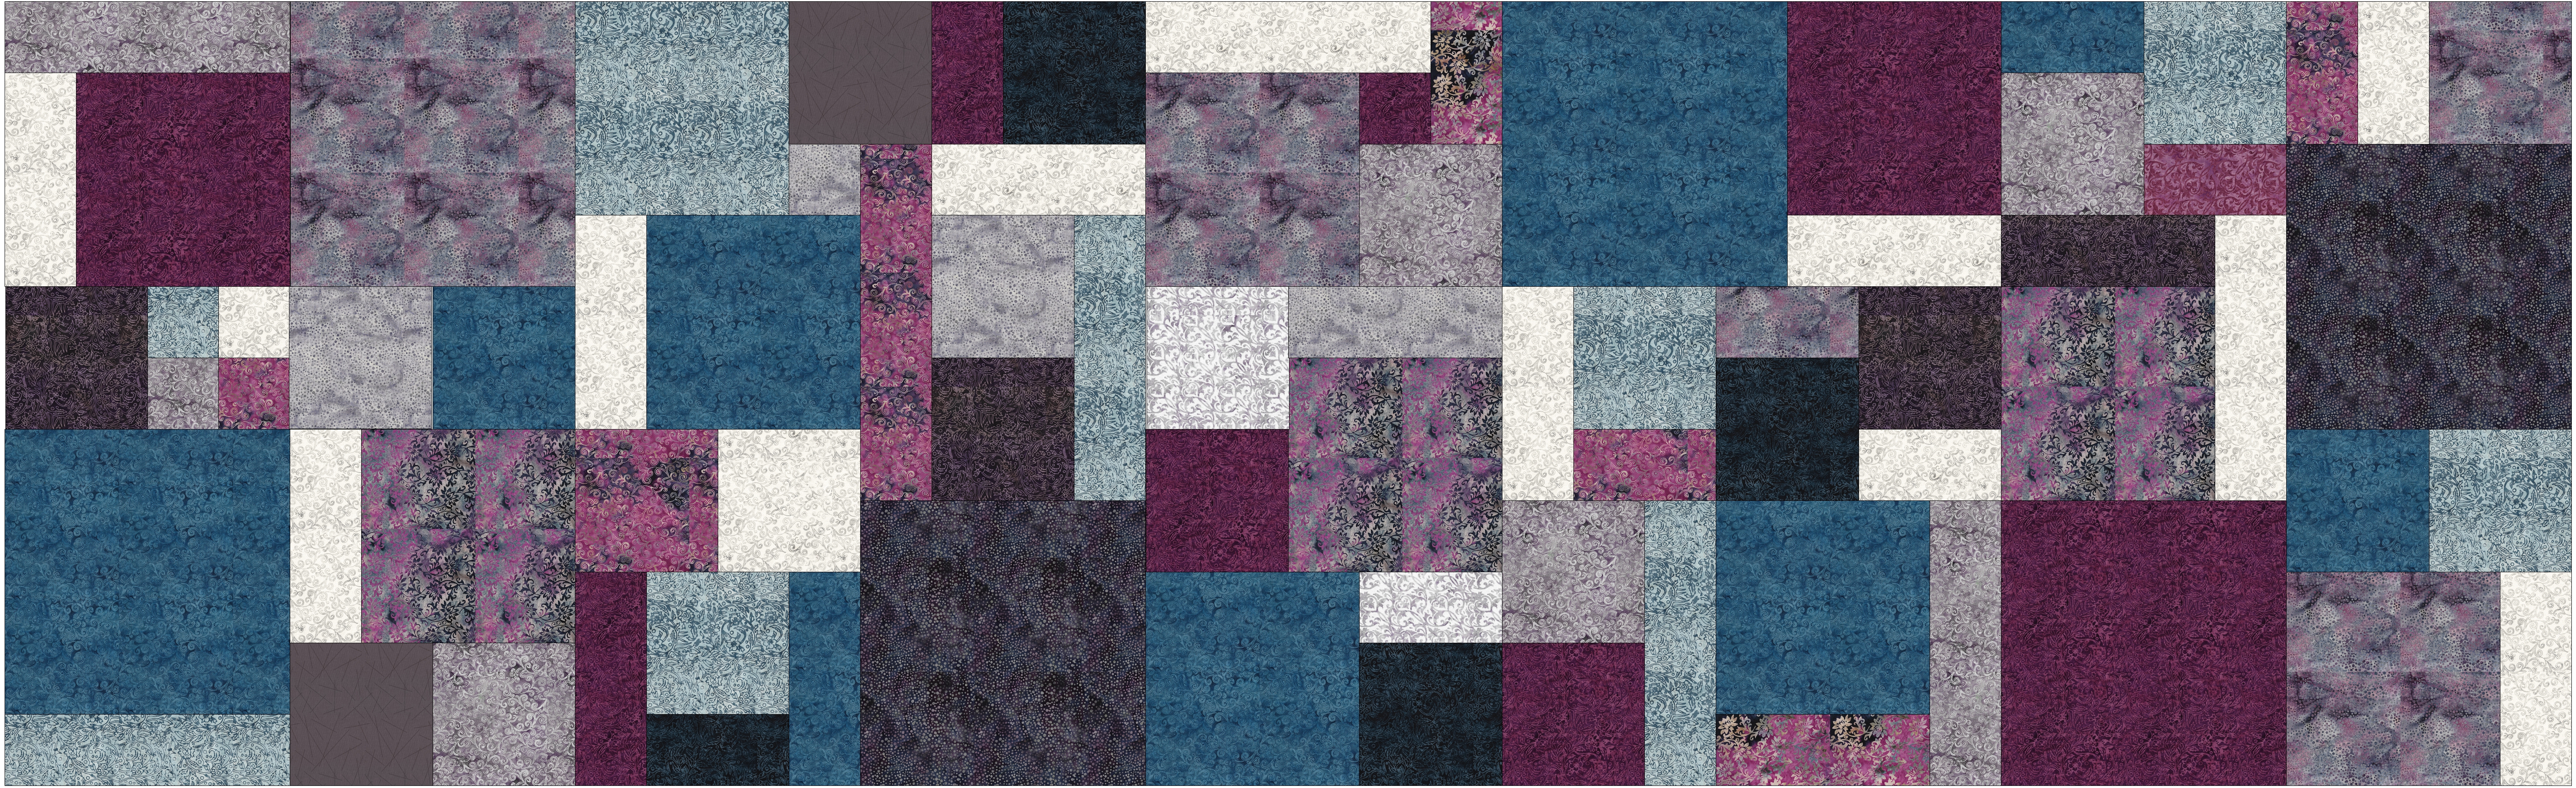
I had made this pattern in the past using the traditional method. This time I thought of trying something else. I cut all my pieces 1″ larger than the finished size, according to my design.
Είχα ξαναφτιάξει αυτό το σχέδιο παλιότερα με τον παραδοσιακό τρόπο. Αυτή τη φορά είπα να δοκιμάσω κάτι άλλο. Εκοψα όλα τα κομμάτια 2,50 εκ. μεγαλύτερα από το επιθυμητό τελικό μέγεθος, σύμφωνα με το σχέδιό μου,

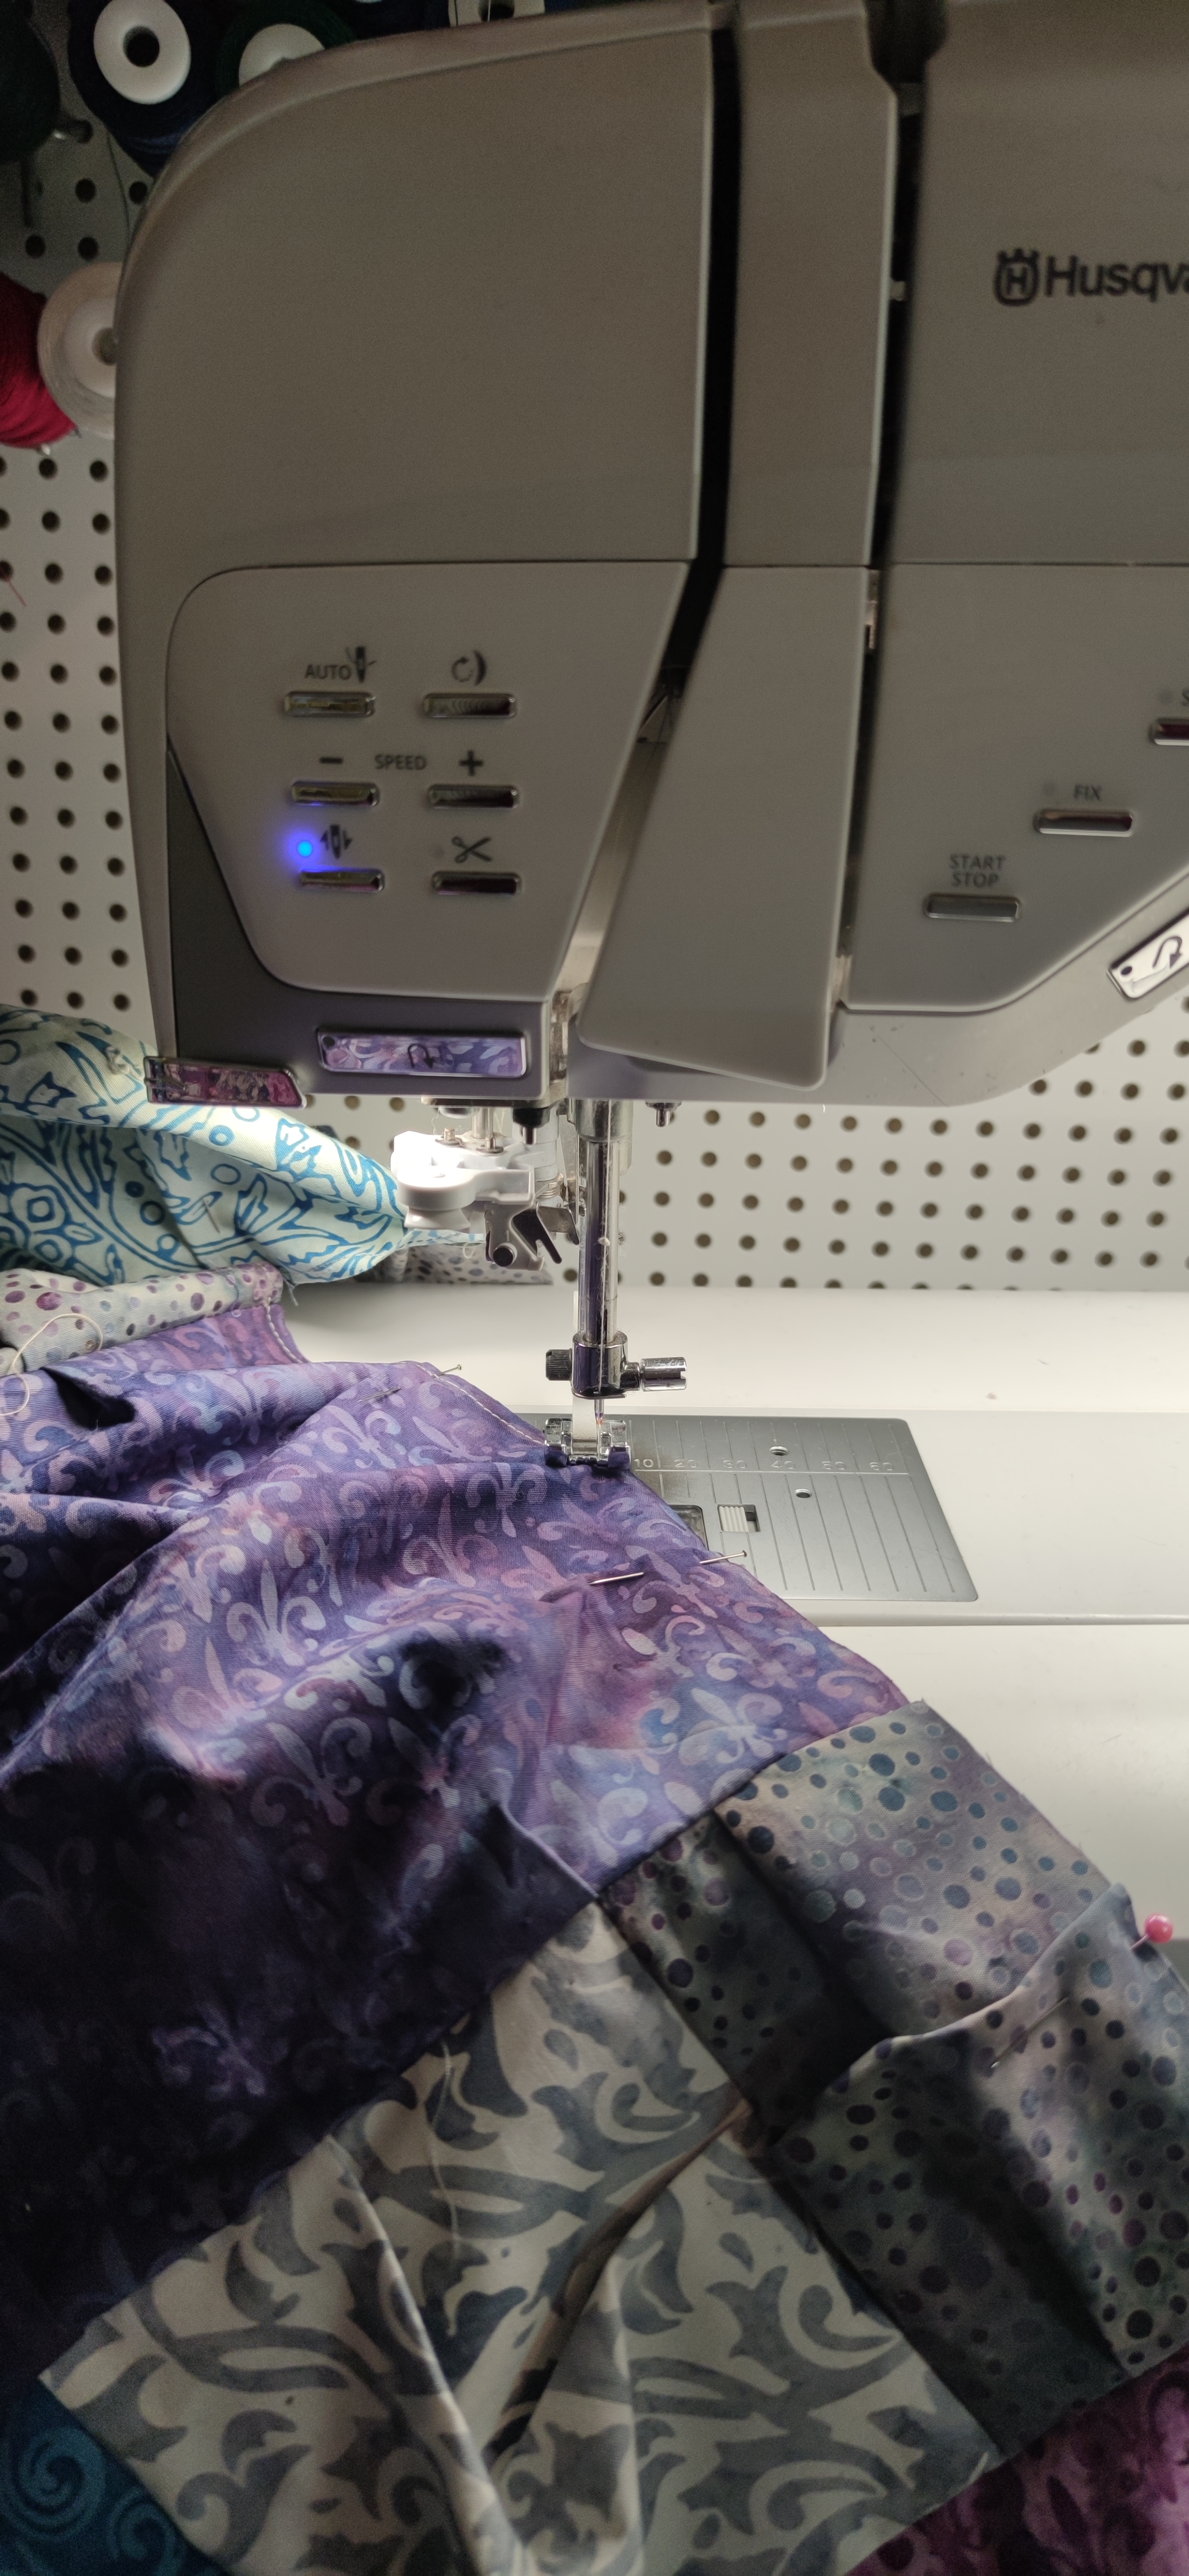
I then made a tuck on each side so that they came all sides to the finished size. I made the tucks on a ruler so that I end up with the right size.
Έκανα μετά μια πιέτα σε κάθε πλευρά για να φέρω το κάθε τετράγωνο στο επιιθυμητό μέγεθυος. Εκανα τις πιέτες πάνω σε έναν χάρακα για υπολογίζω εύκολα και σωστά.

I pinned all four tucks for all my pieces.
Στερέωσα με καρφίτσες και τις τέσσερις πιέτες μου.

and then started joining the blocks as I had simple ones.
Και μετά άρχισα να ενώνω τα διάφορα στοιχεία μου σαν να ήταν απλά.
And I had the top ready (twice).
Και να το επάνω κομμάτι έτοιμο (εις διπλούν)

And look who’s interested in it.
Και κοιτάξτε ποιος ενδιαφέρθηκε γι’ αυτό!

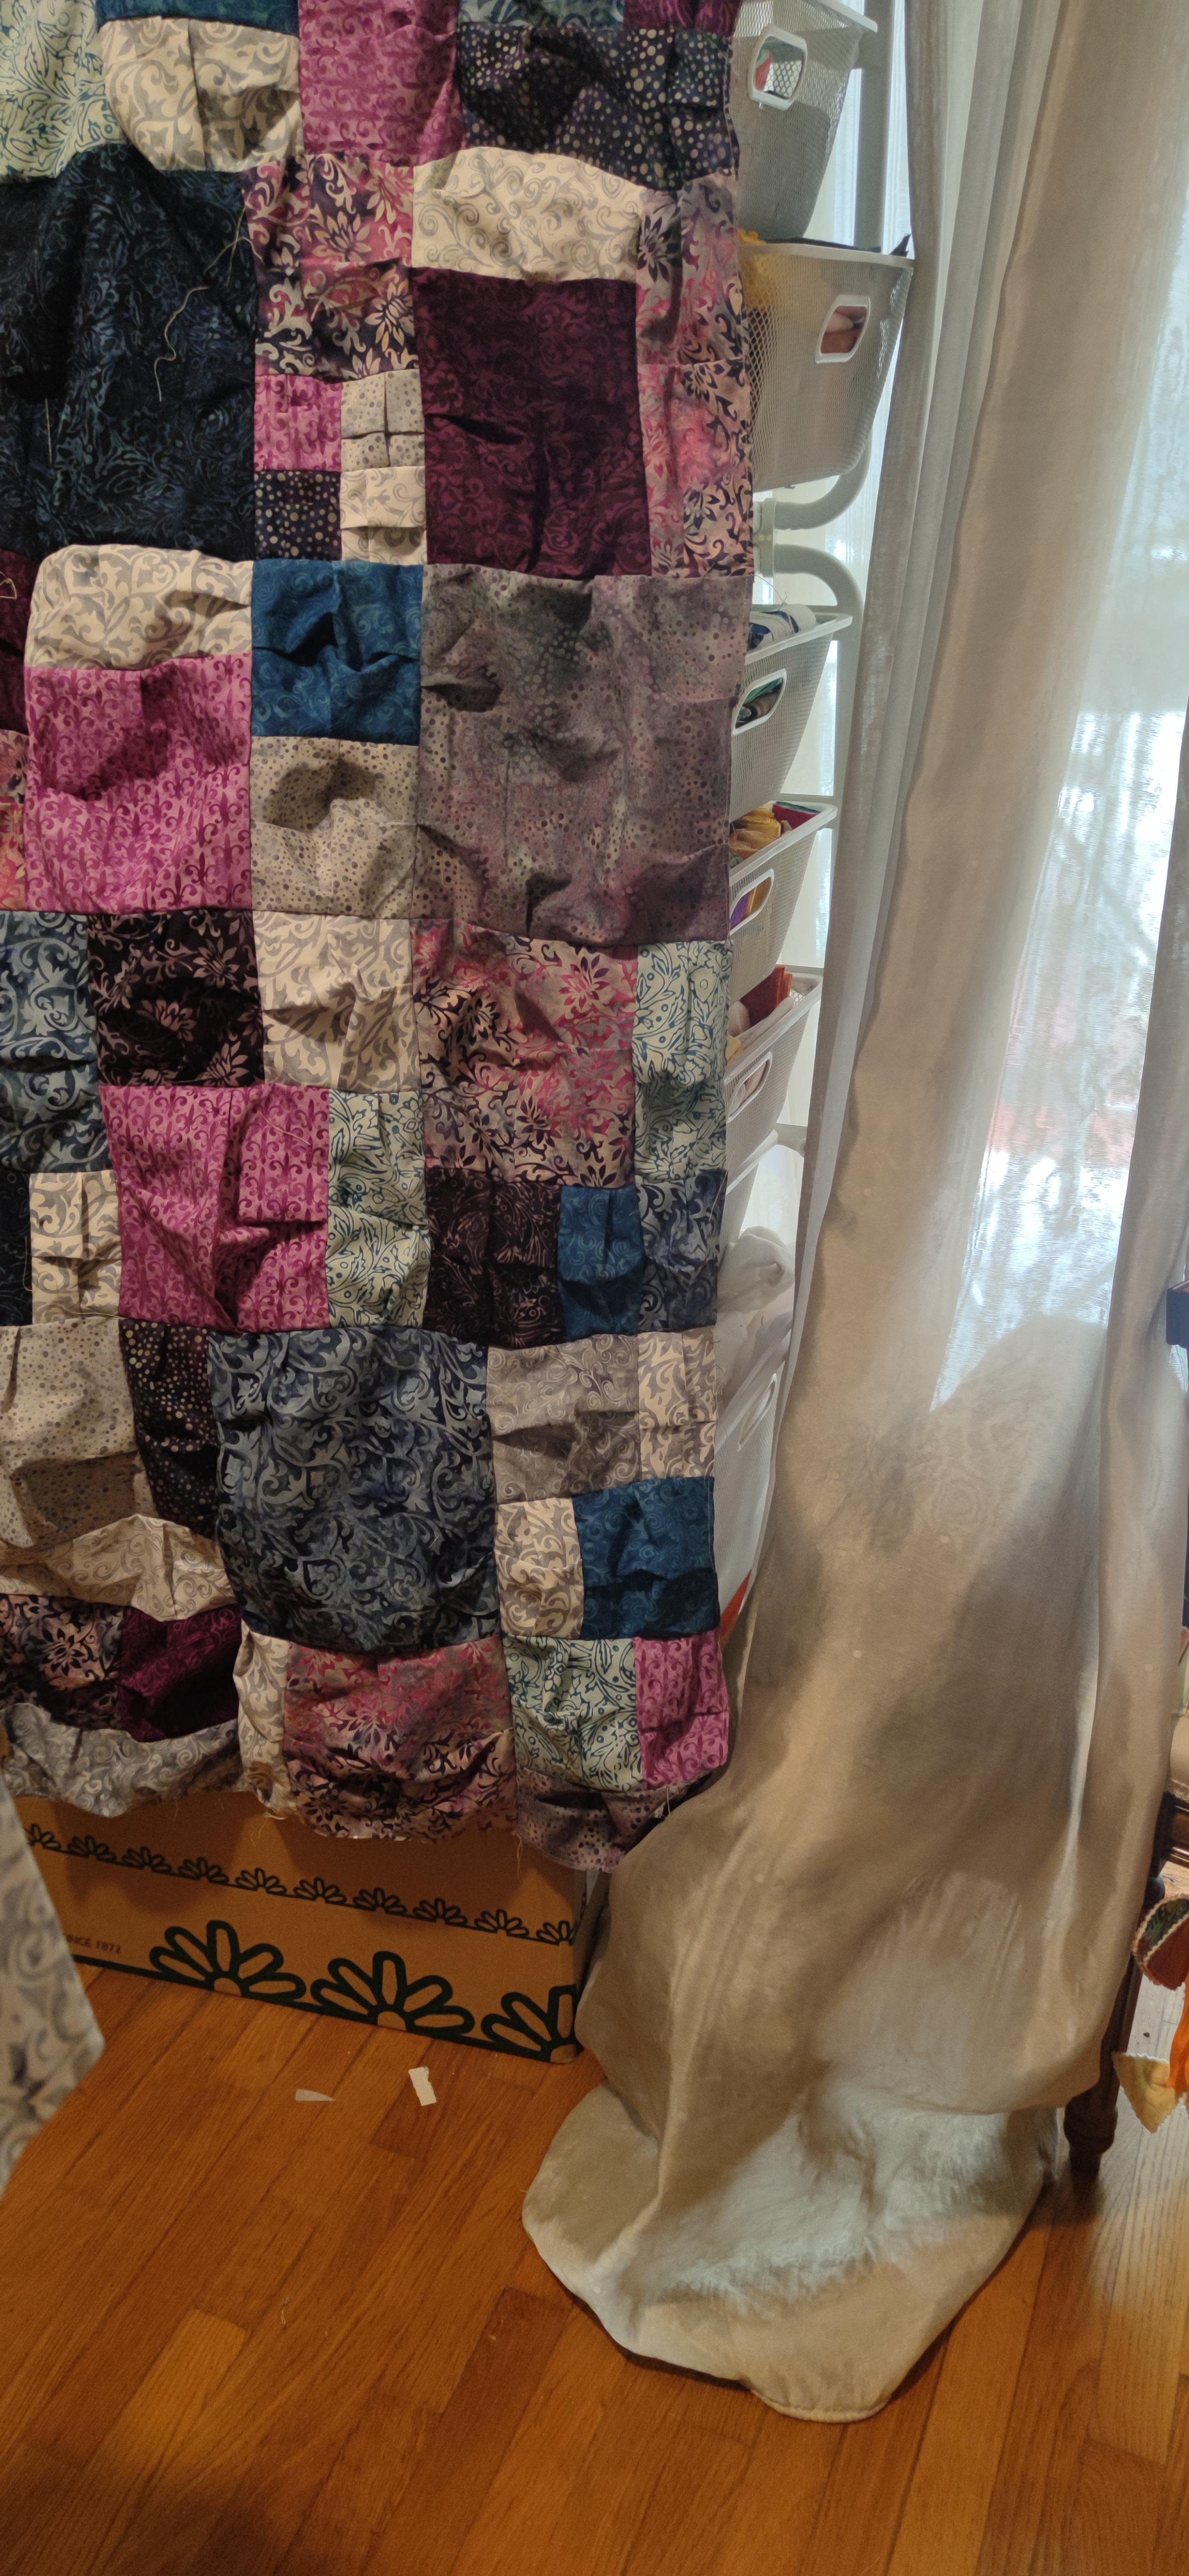
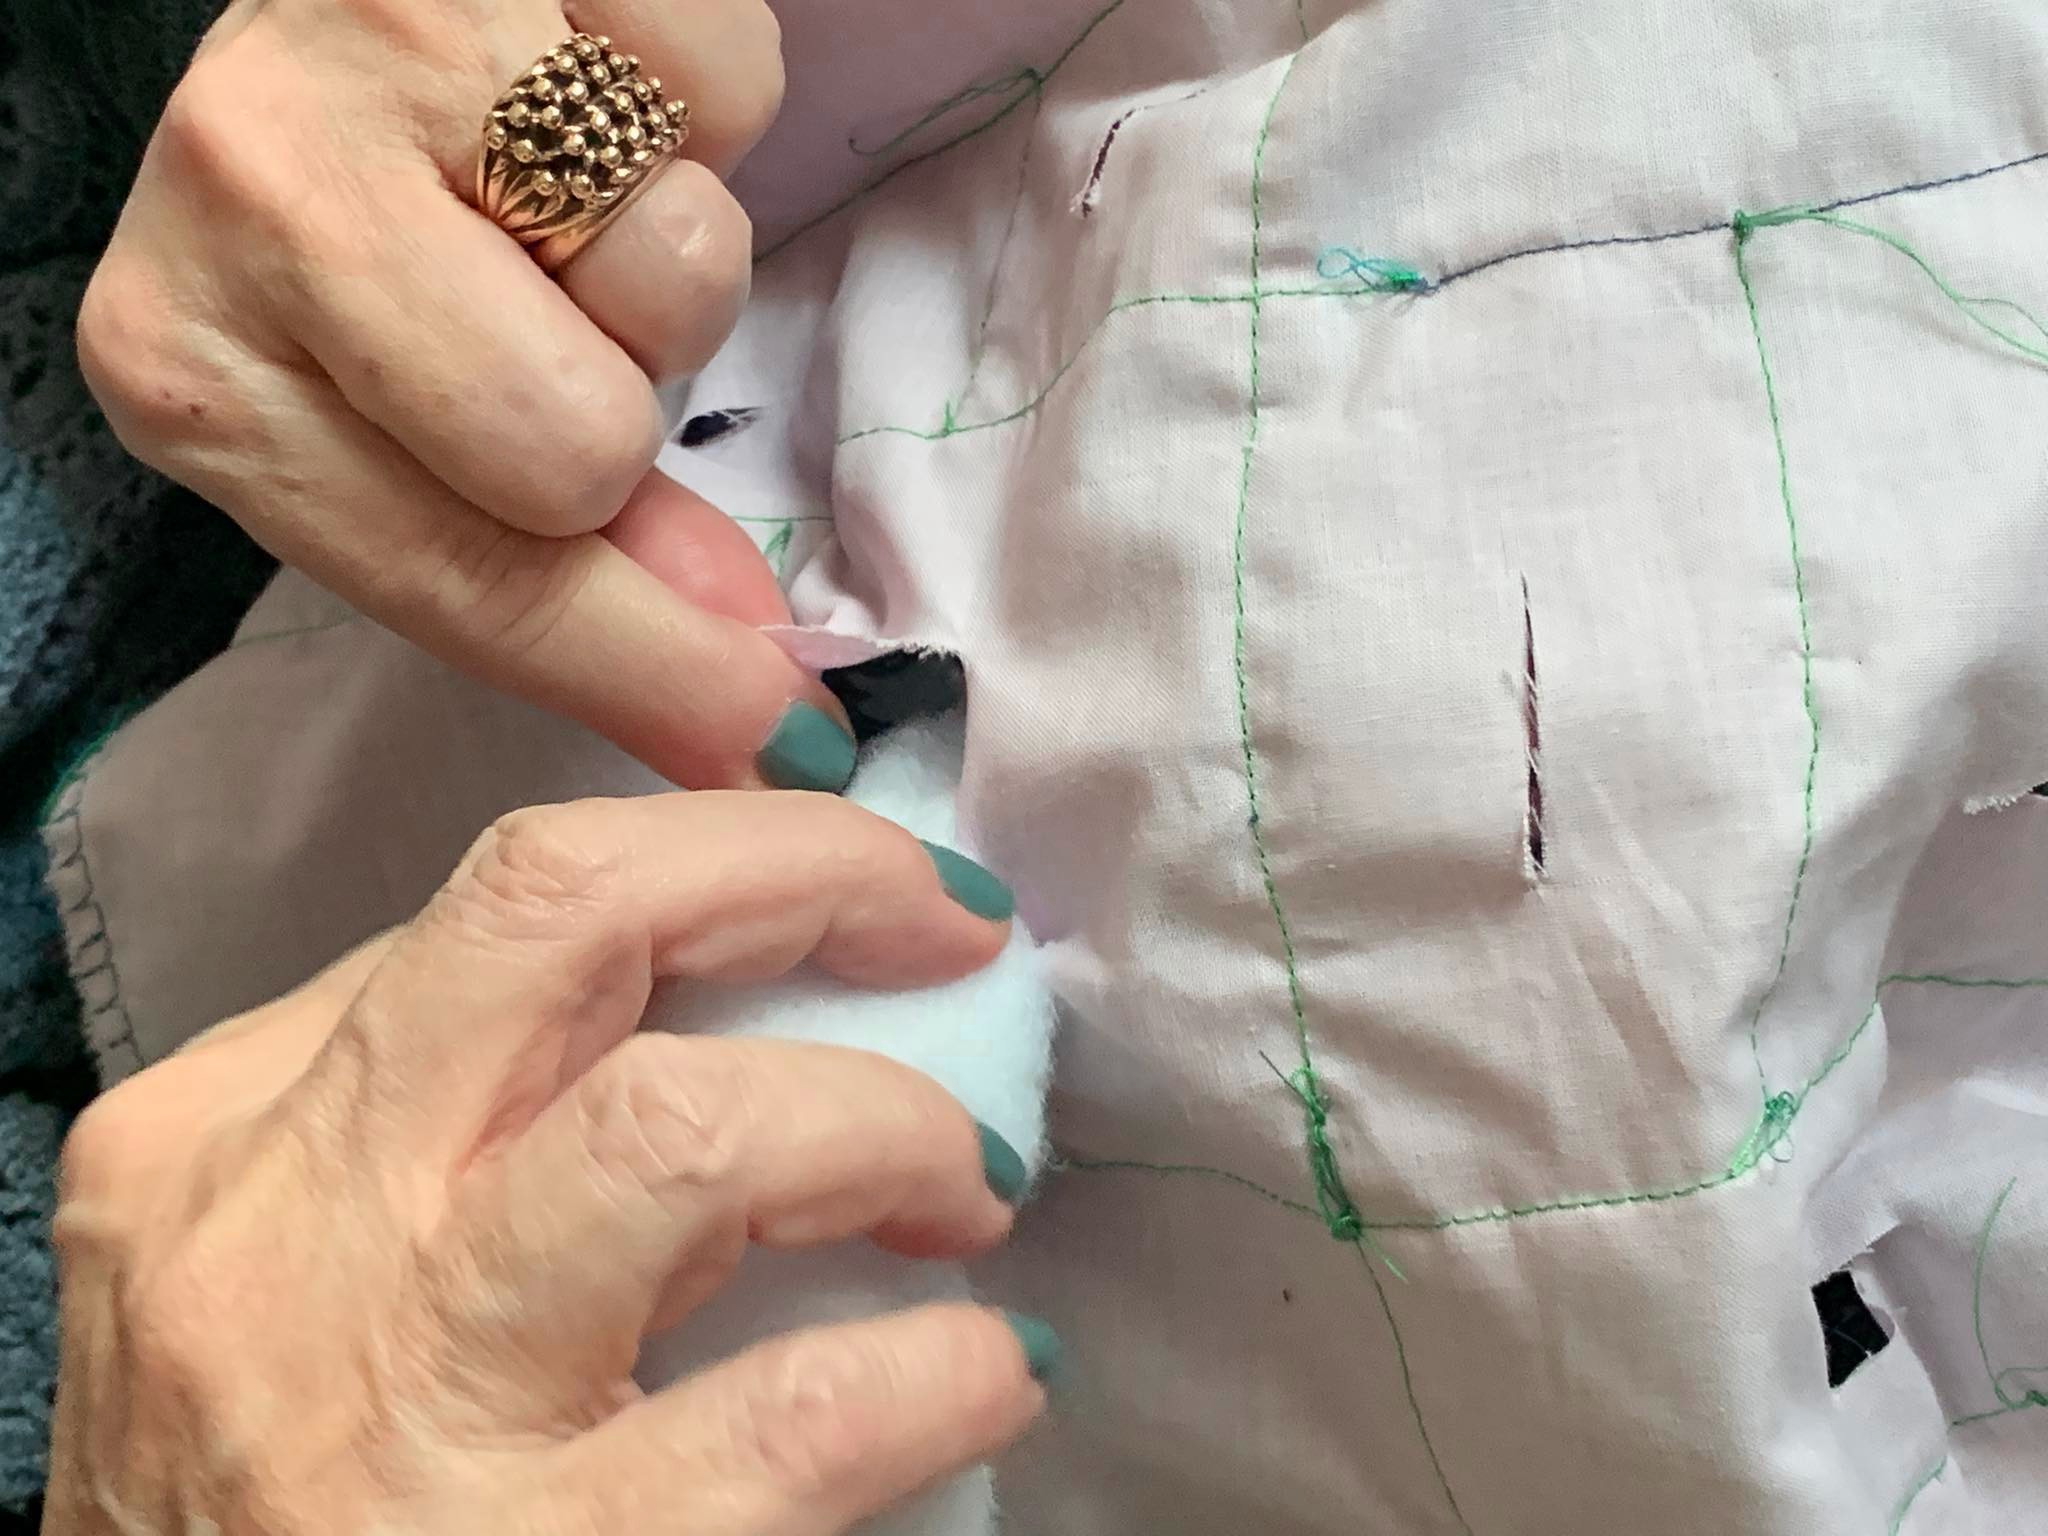
I then cut the piece for the wrong side (not showing at all at the finished piece and sewed it all around. I put the top right sight facing me. I sewed all around. I then put a lot of pins to hold the top piece on place and sewed on every seam. Sorry, I forgot to take pictures on this step. You may understand if you see the following photo.
Μετά έκοψα το κομμάτι που θα πήγαινε στην πίσω πλευρά (που δεν φαίνεται καθόλου στο τελικό έργο) και έραψα τα δυο κομμάτια (το πάνω και το πίσω) μεταξύ τους γύρω-γύρω, βάζοντας το πάνω με την καλή μεριά προς το μέρος μου. Μετά έβαλα πολλές καρφίτσες για να συγκρατήσω το επάνω στη θέση του και πέρασα με τη μηχανή πάνω από κάθε ραφή. Ξέχασα να βγάλω φωτογραφίες σε αυτή τη φάση. Μπορεί όμως να καταλάβετε τι εννοώ, αν δείτε την επόμενη φωτογραφία.
I turned it on the back side and using a riper I made an opening on every block. I filled with filling.
Γύρισα μετά από την πίσω πλευρά και με ένα ξηλωτήρι έκανα ένα άνοιγμα σε κάθε στοιχείο. Γέμισα με βάτα-γέμισμα.
This was the most time consuming step for me as well as closing every opening, which I am not sure it was necessary.
Αυτό ήταν το πιο χρονοβόρο κομμάτι για μένα μαζί με το κλείσιμο των ανοιγμάτων, κάτι για το οποίο δεν είμαι σίγουρη ότι ήταν απαραίτητη.

Adding to the previous two steps the difficulty I had on the last step, I am not sure this was the easiest method. On the other hand, I do not remember at all how easy or not was the traditional method.
Αν προσθέσουμε στα δυο προηγούμενα βήματα και τη δυσκολία που είχα στο επόμενο και τελευταίο βήμα, δεν είμαι σίγουρη ότι αυτός ήταν ο ευκολότερος τρόπος γι αυτό τοσχέδιο. Από την άλλη πλευρά πάλι, δεν θυμάμαι καθόλου τι ένιωσα με τον παραδοσιακό τρόπο.
Finally I cut the wrong side fabric and put it on my finished top right sides together. I sewed all around leaving a gap to turn the whole thing inside out. This seam around the project was also very difficult because I had put so much filling that the presser foot was in difficulty. Anyway, I finished them and I am very happy with my pillows.
Στο τέλος, έκοψα και το ύφασμα της κάτω πλευράς και το έβαλα πάνω στο μαξιλάρι μου καλή με καλή.Τα έραψα γύρω-γύρω αφήνοντας ένα άνοιγμα για να γυρίσωβ το μέσα έξω. Αυτή ήταν επίσης πολύ δύσκολη η ραφή μια και είχα γεμίσει όσο περισσότερο γινόταν τα επιμέρους στοιχεια. Τέλος πάντω, τα τελείωσα και μου αρέσουν πολύ!
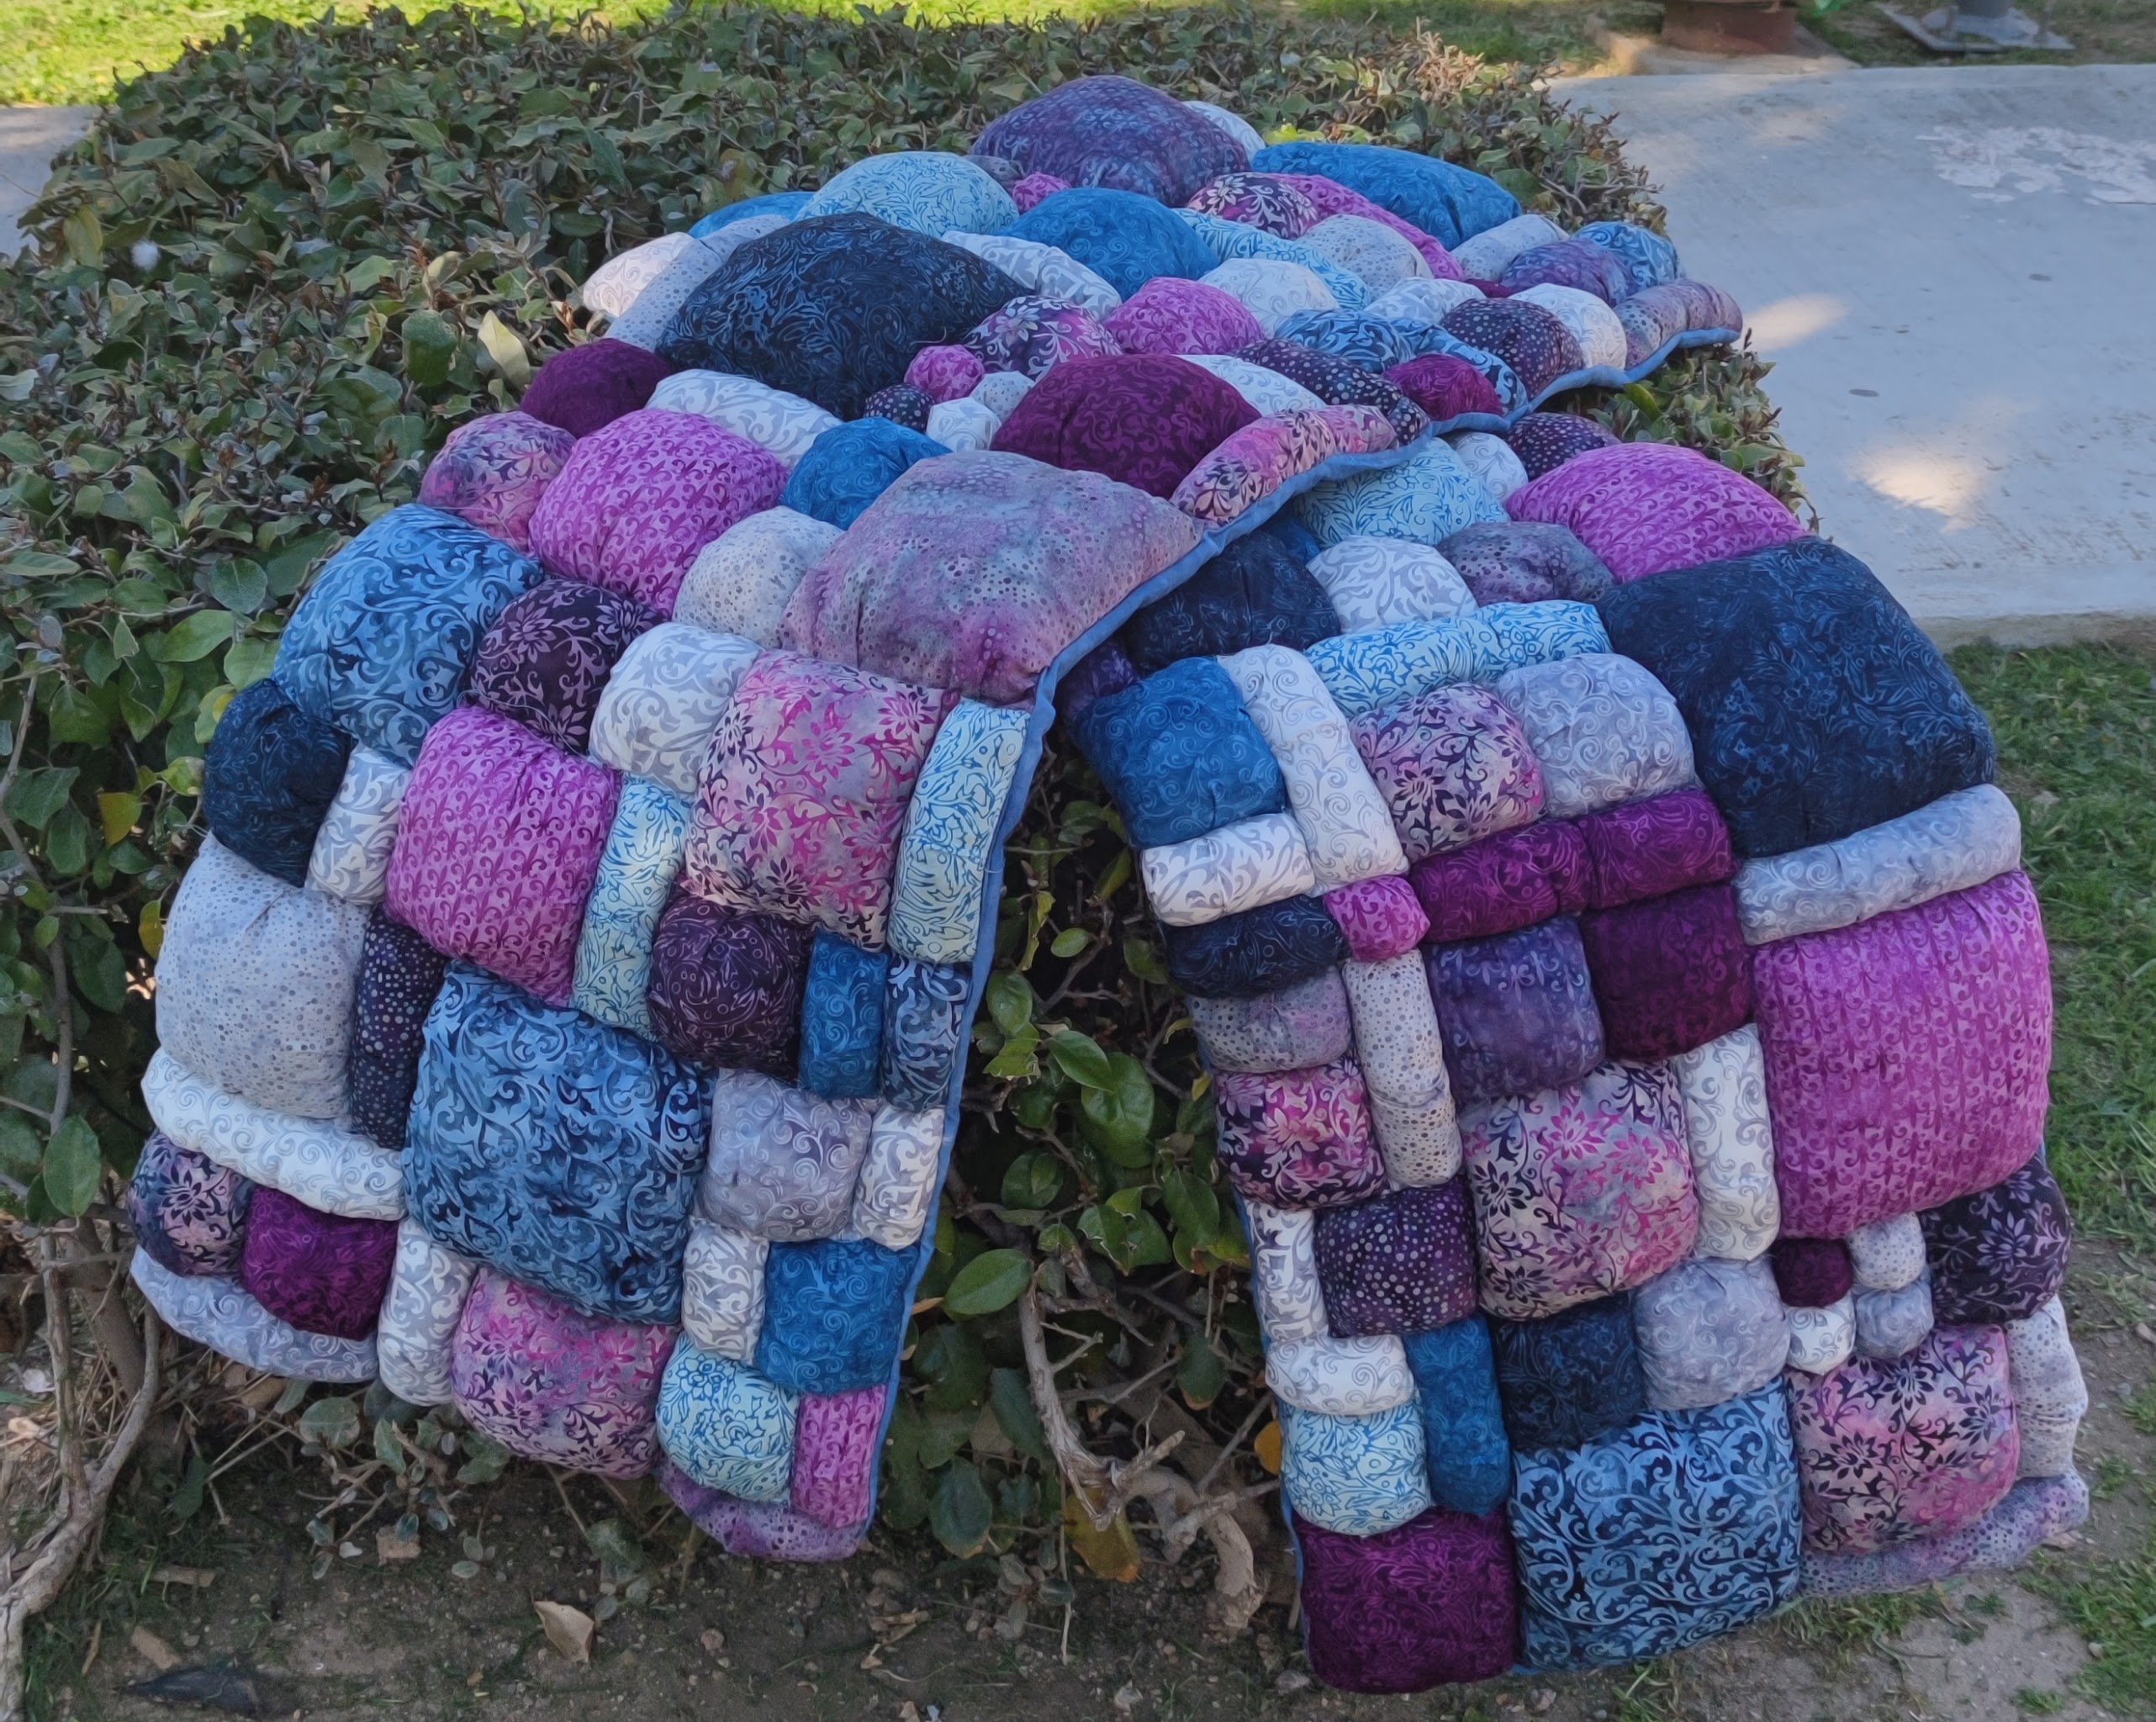

Two and a half years later, I cut them in half and made four pillows for the chairs on my balcony. I enjoy them more like this.
Δυόμιση χρόνια μετά, τα έκοψα στη μέση και έκανα 4 μαξιλάρια για τις καρέκλες του σκηνοθέτη στο μπαλκόνι μου. Ετσι, τα χαίρομαι καλύτερα.

Leave me below a comment, follow my blog and I will draw one lucky winner in the beginning of next month to send some fabric. Comments should be left till February 28th.
Αφήστε μου παρακάτω ένα σχόλιο, ακολουθήστε το μπλογκ μου και θα επιλέξω τυχαία μία/έναν νικήτρια/νικητή στις αρχές του επομένου μήνα. Η/ο τυχερή/ός θα κερδίσει μερικά υφασματάκια. Θα πρέπει να έχετε αφήσει το σχόλιό σας μέχρι τις 28/2/2023
If you want to have a look at my previous projects, press here.
Εάν θέλετε να ρίξετε μια ματιά στα προηγούμενα έργα μου, δείτε τα εδώ.
And if you want to take a look at what my fellow Ambassadors made, please see the list below
Και αν θέλετε να δείτε τι έχουν φτιάξει οι συνάδελφοι Πρεσβευτές, δείτε την παρακάτω λίστα.
Brenda Alburl ~ Songbird Designs
Renee Atkinson ~ Pink Tulip Quilting
Pamela Boatright ~ PamelaQuilts
Susan Deshensky ~ Lady Blue Quilts
Brittany Fisher ~ Bobbin with Brittany
Preeti Harris ~ Sew Preeti Quilts
Mania Hatziioannidi ~ Mania for quilts
Reed Johnson ~ Blue Bear Quilts
Victoria Johnson ~ Forever Quilting for You
Randi Jones ~ Randi’s Roost
Connie Kauffman ~ Kauffman Designs
Emily Leachman ~ The Darling Dogwood
Denise Looney ~ Quiltery – For The Love Of Geese
Leah Malasky ~ Quilted Delights
Maryellen McAuliffe ~ Mary Mack Made Mine
Anorina Morris ~ sameliasmum.com
Lisa Pickering ~ Lisa’s Quilting Passion
Sarah Pitcher ~ Pitcher’s Boutique
Claudia Porter ~ Create with Claudia
Lana Russel ~ Lana Quilts
Elita Sharpe ~ Busy Needle
Gail Sheppard ~ Quilting Gail
Sandra Starley ~ Textile Time Travels
Jennifer Thomas ~ Curlicue Creations
Suzy Webster ~ Websterquilt

I love the idea of using puff quilts for bench pillows! And I like the way you assembled the quilt. That seems like the easiest way. Thank you for sharing your beautiful creations.
LikeLike
Thank you for sharing your quilt. This is such a lovely collection of fabrics
LikeLike
Your colors are very beautiful!
LikeLike
πολύ δουλειά τέλειο το αποτέλεσμα ,μπράβο
LikeLike
Πόσο υπέροχο σχέδιο και χρώματα!! Χαλάλι ο κόπος σου!!
LikeLike
Your pillows are fantastic, Mania! I love the different size puffs that make up the pillow! And that collection is lovely!
LikeLike
I love how you made something completely unique. This is perfect for a bench cushion and the variety of sizes makes it unlike other puff quilts I have seen! Thanks for sharing!
LikeLike
You did an amazing job. I love it.
LikeLike
So pretty. I love how you used the colors in your design, and that it’s going to bring you comfort at the cottage. Wonderful job.
LikeLike
We once had wrought iron chairs, and they were very hard and cold. Cushions like these would have made them much more comfortable. What a great idea!
LikeLike
Beth you are the winner. Could you please send me your address. I will wait for you for two days and then I will choοse another person
LikeLike
Thank you so much! I’m really delighted to have been chosen. I sent a dm on Instagram with my mailing details. My name there is @wordygirl11.
LikeLiked by 1 person
What great cushions! Wonderful idea and love the fabrics!
LikeLike
Oh, I think those are perfect as pillows for your rocking chairs. I think that’s a great idea. They look so comfy, and I love the design..
LikeLike
Very pretty and unique!
LikeLike
Mania you did a terrific interpretation of the task. I love the different size puffs, truly this stands out. I think the buttons will be a terrific add on! Beautiful job.
LikeLike
Those batiks are gorgeous and I love your unique style to have different sized blocks, very clever!
LikeLike
What a great idea for your puff quilt. They turned out really nicely!
LikeLike
Loved it so puffy and the colors are so pretty
LikeLike
Πολύ ωραίες μαξιλάρες, με ωραία χρώματα!!!!
LikeLike
I like the different size puffs, they add a lot of interest to the design.
LikeLike
Mania, your projects are always amazing and beautiful! I love the way you think outside the box. Using the different size squares as you did makes it totally unique. I love the design. The fabrics are really gorgeous too. Thanks for sharing today.
LikeLike
wow your quilt is lovely. I love those fabrics. thanks so much for sharing your process. I follow you via email. I am really enjoying all these puffed quilt ideas. time to make my own. maybe I will do a pillow to get started.
LikeLike
Mania, I adore your pillows. I love how the puffs are all different sizes. It adds interest. I think all the work you did was worth it. Have a lovely day.
LikeLike
Beautiful. Thnaks for sharing
LikeLike